Step 5. Add Icons to the Tree View
VFW060 – Using a Tree View
Tree views are usually shown with an icon displayed at each level. The image does not necessarily represent the level's data, but it gives a clear visual clue for the level being selected for example.
In fact the Tree View column has an and property, so that two images can be associated with that level. Of course the image properties must be defined for the column which is displayed for that level.
Check your under The following components should already be defined:
|
Name |
Use |
|
VI_DEPTCL |
Department (normal) |
|
VI_DEPTOP |
Department (open/expanded) |
|
VI_SETCL |
Section (normal) |
|
VI_SECTOP |
Section (open/expanded) |
|
VI_EMPLOY |
Employee |
1. The properties need to be assigned at run time.
Add the following code to the beginning of the form event routine:
Set Com(#TVCL_1) Image(#vi_deptcl) Imageexpanded(#vi_deptop)
Set Com(#TVCL_2) Image(#vi_sectcl) Imageexpanded(#vi_sectop)
Set Com(#TVCL_3) Image(#vi_employ)
These assignments must be before departments are added to the tree view.
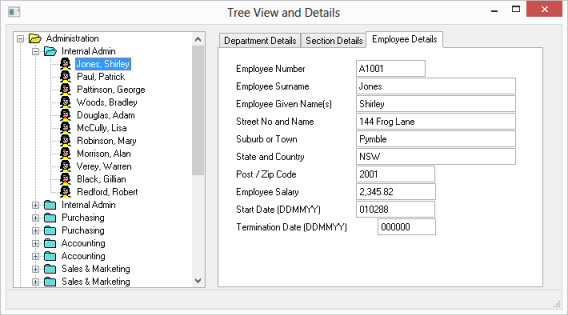
2. Compile and test your form, which should now look like the following:
3. Confirm that the icons change as a level is closed or expanded.