


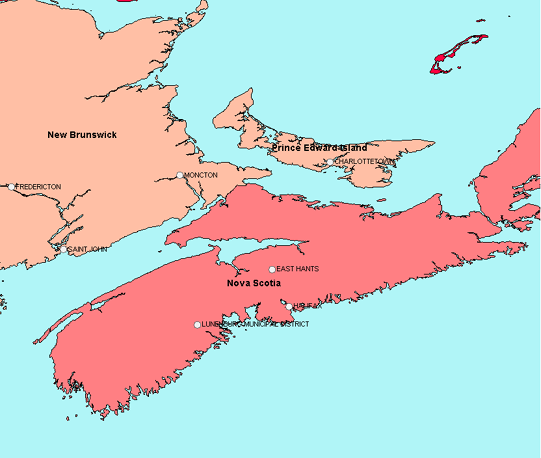
If you are creating maps with AutoCAD Map 3D, you may want to add text to your map and control the placement and appearance of the text very precisely. The labels that are generated automatically for features on the map may not always appear exactly where you want them. Take for example, the map in the illustration below. The labels for the provinces and cities are placed dynamically and will shift position as you zoom in and out. This is exactly what you want for maps that are intended for viewing on the Web using MapGuide. However, for plotted or printed map sheets, you need more control over the position of the labels.
You can use standard AutoCAD Mtext to place text anywhere you want on the map, but you cannot save this text to your database with the rest of the feature data that makes up your map. If you want both precise control over your text and the ability to store the text in a database, you can add a special kind of point layer called an annotation layer.
This is what we have done in the illustration below. The blue text showing the main bodies of water has been added on its own anotation layer. The text is stored in the database, in this case an SDF file, but it retains the styling applied to the individual text strings.

The following animation shows how to create an annotation layer and add the first text item to it, using the map of Canada shown in the illustration above. The text is added using the default values for style and rotation.
Show me how to create a text layer and add text
The second animation edits the text string inserted in the previous animation. Because the text string is on the annotation layer, it has its own set of style properties. It can easily be adjusted to change the font, the color, and so on.
To change the rotation of the text, you edit the ORIENTATION column in the Data Table, as shown in the final animation.