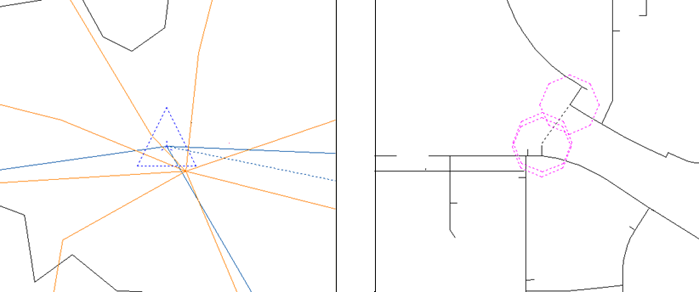
If you receive DWG data from many sources, you don’t always know how well that data has been prepared. Errors may have crept in during the processes of digitizing, scanning, or surveying. There may be inaccuracies, such as lines which don’t exactly meet (overshoots or undershoots), duplicate lines where only one is needed, or lines which are too short to have any meaning.
Naturally, you want to make sure that the data that you use in your projects is free from these kinds of errors. If you had to do your error checking manually, you would certainly have to spend a lot of time on it, and some errors would probably go undetected. Fortunately, you can check for errors and fix them using an automated process called drawing cleanup.
The cleanup process goes through your drawing and checks for errors in the categories that you select. Typically, you will get the best results by checking one category at a time. Drawing cleanup can fix the errors it finds automatically, or it can operate interactively, that is, by marking the errors it finds with a colored symbol so that you can easily see where they are. You then decide in each case whether you want to fix that error or not.

This example demonstrates how cleanup works on a DWG layer that contains polylines. It shows the interactive process of locating and fixing duplicate-line errors.
Delete Duplicate Objects is usually the last of the cleanup actions that you would perform because many duplicates do not appear until all geometry conversion and changes from the previous operations are in effect. It is recommended that you select the cleanup operations in the order listed below:
- Break Crossing Objects
- Extend Undershoots
- Erase Dangling Objects
- Erase Short Objects, Snap Clustered Nodes
- Dissolve Pseudo Nodes
- Delete Duplicate Objects


