RAMP TS003 Step 1 Creating Your Real By Name Filter
From RAMP-TS
RAMP-TS003 Step 1. Creating Your Real By Name Filter
In this step, you will create a real filter which searches the PSLMST file by employee surname. You will also learn how to use the Program Coding Assistant.
1. Click on the Program Coding Assistant button in the By Name filter.
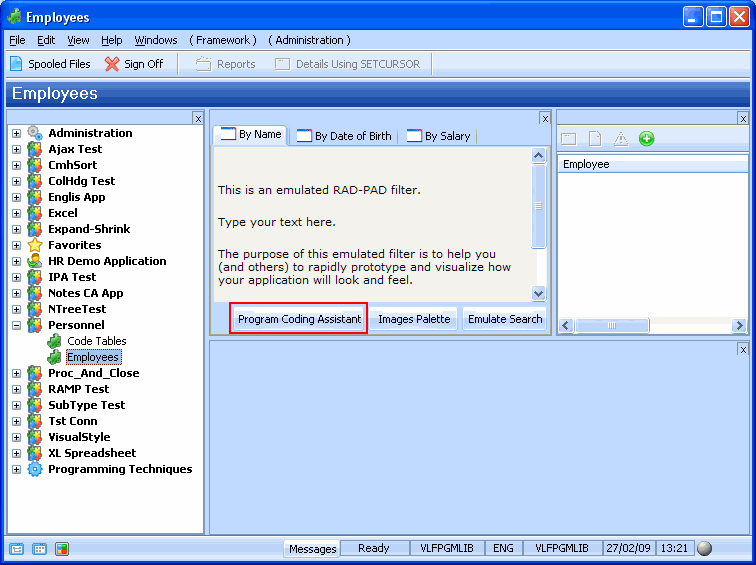
The Program Coding Assistant window is displayed. It allows you to create different types of components that can be plugged into your filters, instance lists and command handlers. It is highly recommended to use the program coding assistant when you first start using the Framework.
Initially you will most likely use filters that generate a component that can be executed (e.g. CRUD Filter (Create/Read/Update/Delete), Filter that searches a file or view). As you progress you might only use a skeleton filter or simply copy from one that is similar to one that you want to create.
2. If you are using a non-English system, click on Framework -> Your Framework in the top-left tree view. The Set LANSA code generation preferences option appears at the bottom. Select this option and set your preferences.
3. In the list on the top left, ensure the Personnel application, Employees and the By Name filter are selected.
4. Underneath it, select Native MS Windows as the platform.
5. As the type of code you want to generate, select Filter that searches using a file or view.
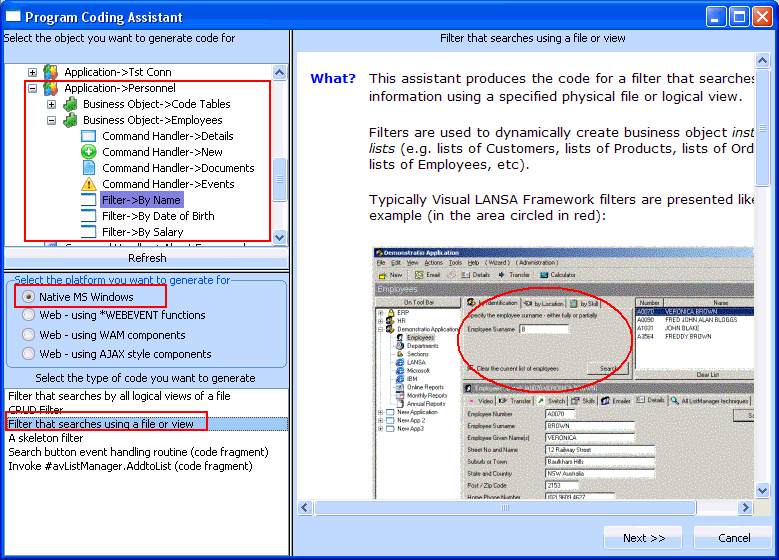
6. Click the Next button.
7. On the next page specify PSLMST as The physical file that most closely resembles this business object.
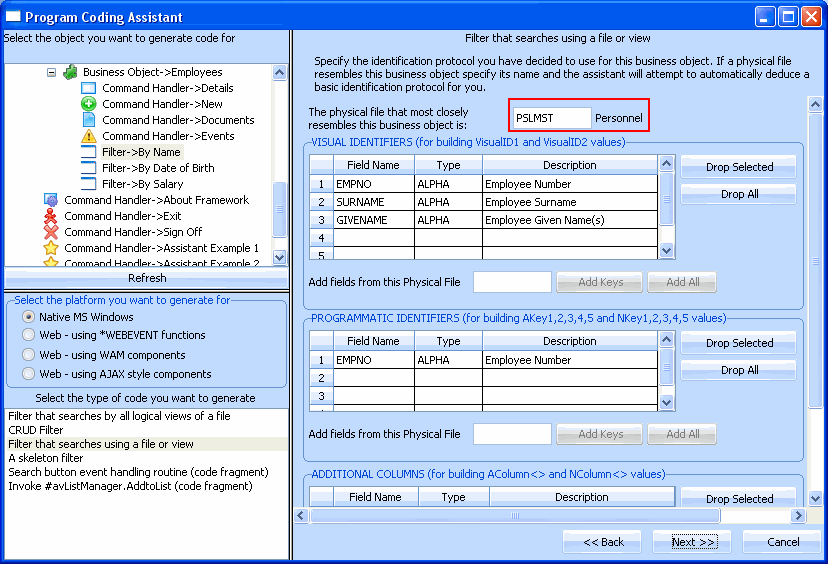
The Program Coding Assistant detects the Visual and Programmatic Identifiers required:
- A Visual Identifier is the field or fields that a user would use to identify a unique instance of the business object.
- A Programmatic Identifier is the field(s) that the program would use to identify a unique instance of the business object. Typically these would be the primary keys of the file or files that make up the data in the instance list.
- The additional columns represent the additional columns in your instance list that you may have added during the prototyping phase.
8. Click the Next button.
9. On the next page specify PSLMST2 as the view to be used for filtering/searching operations. It is logical view of the PSLMST file keyed by the SURNAME and GIVENAME fields.
Note that you need an appropriate logical file for each filter that you want to create. Before implementing all your filters, review your data model to confirm that all the logical files exist. Doing so will speed up the process of implementing your prototype.
10. Select the SURNAME field as the key of the view to be used for search operations.
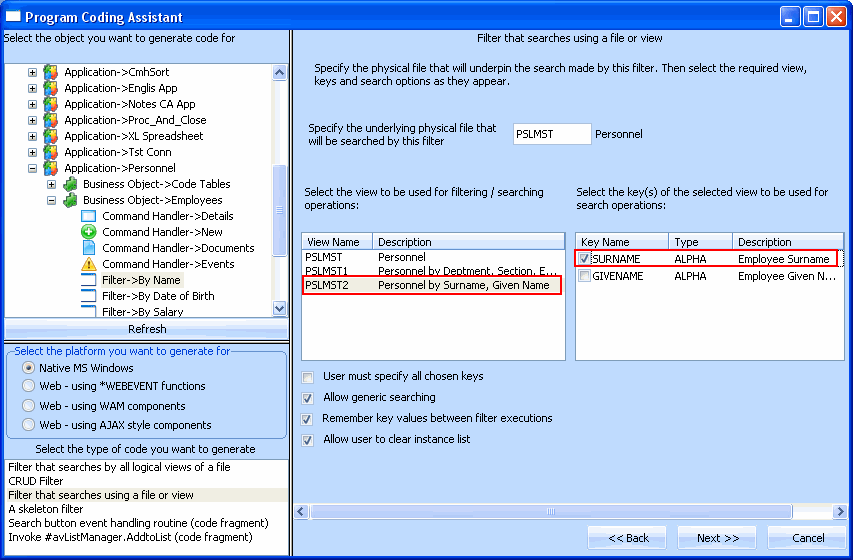
11. Click the Next button.
12. Select the option Routine to listen for signals to update the instance list.
13. Click the Generate Code button.
The next page, Generated Code, displays the source code for your filter. You now need to create the component that will contain this code:
14. Specify iiiRMP01 as the name of your real filter and By Name Filter as the description. (iii are your initials If you are using an unlicensed or trial version of Visual LANSA, you must always use the 3 characters DEM to replace iii).
15. Click on the Create button to create the component.

After a brief delay the Filter component is displayed in the Visual LANSA editor.
16. Compile the component.