

combit List & Label
Specify Properties
1. Choose the type, form, shadow and pointer properties for the gauge using the drop-down lists.
2. The "Value" property lets you determine the value that the pointer is to display, e.g. the customer's turnover or rating.
3. You can also make use of various other layout options including:
§ Appearance: Filling, pointer options, glass properties.
§ Lettering: Rotation angle, white space before and after the scale range, tickmarks, scale labels, signal ranges, text fields
§ Values: Minimum and maximum vales of the scale
Also see the chapter Overview of Properties.
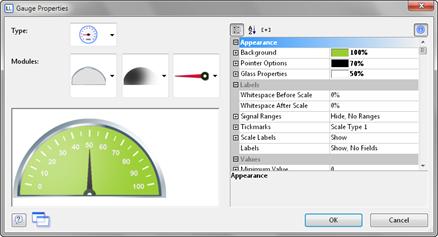
Figure 6.19: Gauge properties
4. Indicate the optimal area, e.g., by specifying the color of the signal range.
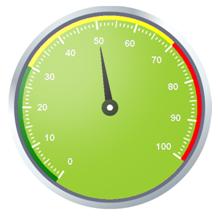
Figure 6.20: Gauge with colored signal ranges
To do this, set the "Signal Ranges" property to "Show" and click the "..." button to open the dialog for defining the regions. In this dialog, click the "New" button to create the respective ranges with start and end values and assign the colors that you want.
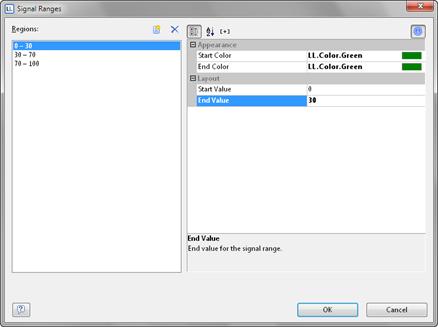
Figure 6.21: Signal range definition dialog
5. You can also define text areas in the same way, i.e. you can output text to any position, as you wish.
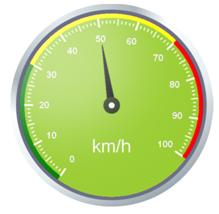
Figure 6.22: Gauge with text area
To do this, set the "Labels" property to "Show" and click the "..." button to open the dialog for defining the regions. In this dialog, click the "New" button to create the respective ranges with position, rotation, frame size, background, font and formatting. You specify the position in relation to the area of the gauge (measured from left to right). For example, a vertical and horizontal position of 50% each positions the label precisely in the middle.

Figure 6.23: Text label definition dialog