

combit List & Label
Inserting a Company Logo Into the Report
For the company logo, please use the "sunshine.gif" file, which you will find in the directory for the Sample Application. We also need a "Picture" object. Proceed as follows:
1. In the "Objects" toolbar, choose the "Picture" object type.

Figure 2.5: "Objects" toolbar
Note: Objects are your project's building blocks. They are generated in the workspace where they are also given a border with which their size and position can be changed. This border defines the space that the object takes up and thus also the maximum size to which the contents of the respective object can be expanded. Objects may overlap fully or partly.
2. In the workspace, point the mouse to the position where the upper left corner of the object is to begin. The mouse cursor changes to a crosshair. Hold down the left mouse button and drag the crosshair to the lower right corner of the planned object. Release the mouse button when the object (the dashed border) is the right size.
Note: Objects can be added to the workspace in different ways: via the menu Objects > Insert, via the toolbar or via keyboard shortcuts, or with Drag & Drop from the list of variables.
3. A file selection dialog will appear. Select the image file that you want.
Note: The following formats are available: WMF, EMF, BMP, DIB, PCX, SCR, TIFF, GIF, JPEG, PCD, PNG and ICO. As a general rule, you should use the RGB color space (not CYMK). List & Label itself supports transparency in PNG files by using the corresponding Windows functions. In our experience the majority of printer drivers do not support transparency so that reports with e.g. partly transparent PNG files should thoroughly be tested on the actual hard-software combination. If that is not possible we recommend doing without the alpha channel.
In addition, you can insert the picture into the project by enabling the ("Embed image in project file" checkbox option. This option copies the image to the project thus making it available even without the external file.
4. After you select the file, the logo will be inserted.
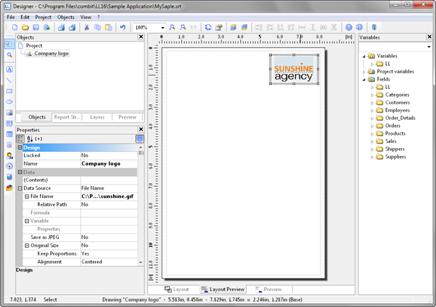
Figure 2.6: Report with picture object