

combit List & Label
Defining Cell Properties
In the wizard's second dialog or, alternatively, on the "Cell Definition" tab, you edit the properties of the different cells.
You can select the cells directly in the drawing in the upper pane of the dialog and then edit their properties. To select multiple cells, hold down the Ctrl key or you can draw a border around the cells with the mouse.
1. Assuming that you want to prefix the number of the quarter with a "Q" as the title of a column. Select the respective column title and then double-click on the "Displayed Contents" property.
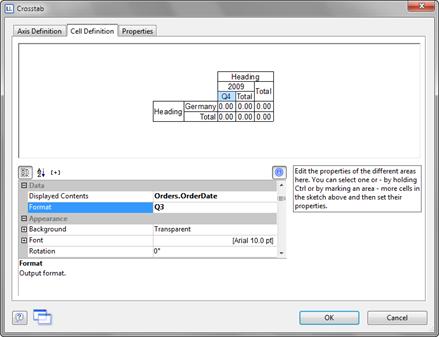
Figure 6.28: Cell definition for the crosstab
2. With this property, you can now specify the text that is to be displayed in this cell (independent of the value that you have defined for this column grouping).
Now define either a suitable formula, e.g. "Q " + Str$(Quarter(Orders.OrderDate)) in the formula wizard, or use the "Format" property. Then remove the "Quarter$()" here, i.e. only the date field remains in the field, and format the value by means of the property.
To do this, click the "Formatting" property, choose "Date" as the formatting type, and finally select the "User-defined" entry from the drop-down list. At the end of the list you will find an example for formatting a quarter plus the number of the year. Since we don't need the number of the year, shorten the formula's string to "Q%q".
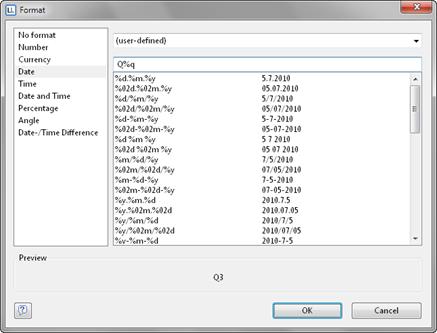
Figure 6.29: Formatting for date values
3. This cell is now formatted and you can go on to format all other cells in the same way. Various properties are available including:
§ Rotation of the content in increments of 90°
§ Background
§ Frame
§ Font
§ Vertical and horizontal alignment
§ Maximum width, minimum width and minimum height
Also see chapter Overview of Properties.