6 Uninstall LANSA on Windows
From Installing LANSA on Windows
6. Uninstall LANSA on Windows
You can uninstall LANSA on Windows using the Microsoft Windows Control Panel's Add/Remove Programs feature.
The uninstall program allows you to Selectively remove each configuration of LANSA that is installed.
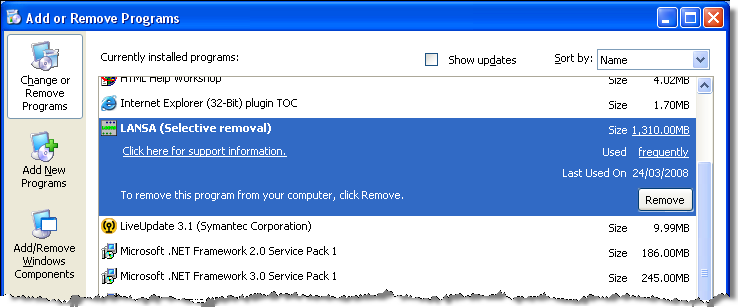
1. Select the LANSA program from the list and press the button.
The configurations that can be removed are listed in the LANSA Selective Removal dialog.
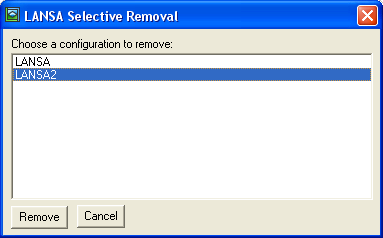
2. Select the configuration to be removed and press the button.
When you select the configuration to be removed, the Remove Configuration dialog is displayed.
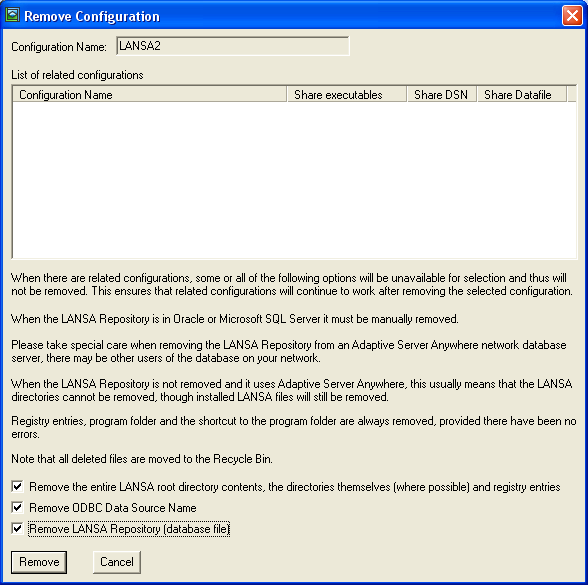
The Remove Configuration dialog contains pertinent information. Please read this before continuing. If there are any related configurations, they are listed so that you can see what is dependent on some parts of the configuration being uninstalled. These related configurations are not altered and will continue to operate correctly after the selected configuration is removed.
3. Change the settings, if required, and press the button
A message is displayed listing the main LANSA system parts that will be removed. The ODBC DSN and the LANSA root directory are listed.
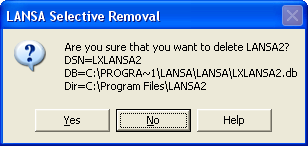
4. Press to continue, to return to the previous step.
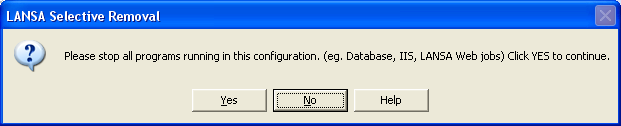
You are reminded to stop various features that may still be executing. These must be closed.
5. Press to continue, to return to the previous step.
All files removed are put in the recycle bin, so they can be restored if necessary. Windows does not provide a registry restore feature. Restoring the files does not restore a working LANSA system. The restore is not intended to work.
After deleting a LANSA system, you must empty the recycle bin to make the disk space available for other purposes.