Label figures 
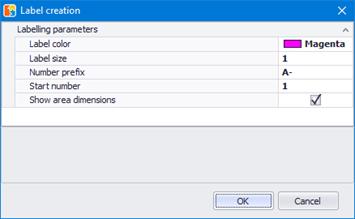
Using this button, you can create labels for all measurements on the drawing. To do so, make sure that the desired measurements are visible, select them, click on ‘Annotations’ and then choose ‘Label figures’ from the drop down menu. The selected measurements will be automatically numbered and labeled on the drawing. The following window appears on the screen:
In this window you can customize the color, font size, numbering and prefix of the labels that will appear. With the ‘Show area dimensions’ check box toggled on, the lengths of the segments around a measured area will also be labeled.
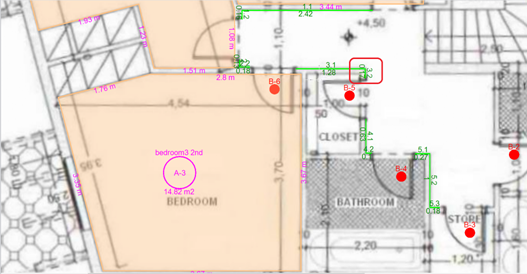
 Figures of a measurement will be labeled
explicitly, along with their value. In the screenshot above, label 3.2 indicates
that the 2nd figure of the 3rd sub-measurement of a length
measurement is 0.17.
 If you have not selected any measurements in
particular, then all visible measurements of the current drawing will be
labeled.

