4 1 2 Migrating a Partition from a Slave to a VCS Master
From Visual LANSA Admins
4.1.2 Migrating a Partition from a Slave to a VCS Master
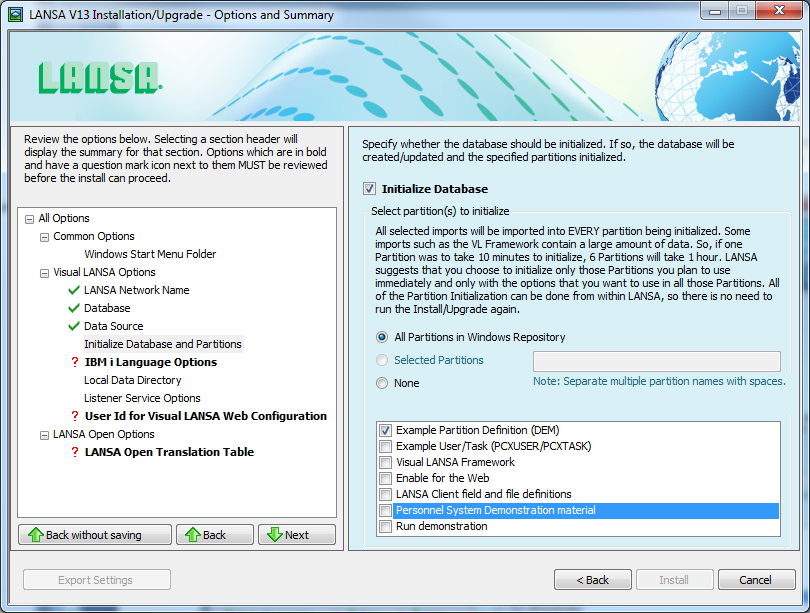
Note: the most efficient way of installing the Visual LANSA Independent System to a VCS Master is to perform a Custom Install and on the options for Initialize Database and Partitions only chose Example Partition Definition. This is because the whole partition will be replaced anyway. Other partition initialization like Visual LANSA Framework need to be done after the partition has been replaced with the Slave data:
Start the Visual LANSA Independent System which is to be connected to your VCS Master. If it's a completely new install the logon will display something like this:
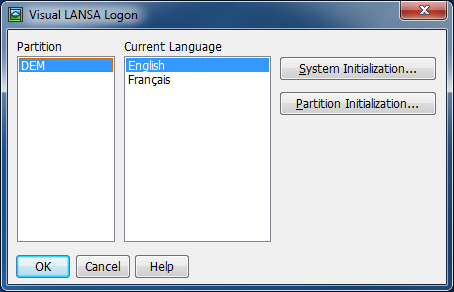
Click OK.
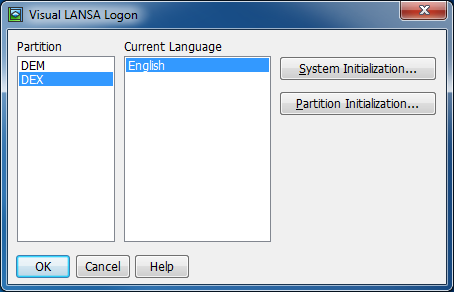
Create a new Partition with the same name as the source system. Lets say its called DEX (New/Partition). This partition is going to be replaced so the actual settings do not matter. You just need to be able to select it on the logon dialog.
So close the Development Environment and select DEX and click OK.
Leave that system running whilst you prepare the export from your source system.
Note that the export may be produced by an IBM i too
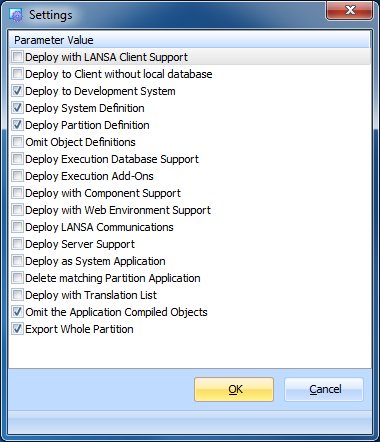
On the Source System (which contains the COMPLETE and up-to-date partition), use the Deployment Tool to export your whole partition to your Independent System. Use the XEXPORT template to create an application and check the settings as shown below. No other configuration is required. Save the Package and Build it.
Once the Package is built, close the Package and go to the Package Folder. Now navigate to the internal directory of the package you have built. Something like this: C:\PROGRAM FILES\SlaveSystem\X_WIN95\X_LANSA\X_APPS\EXPORT\X_PKGWRK\6.0.0\Build\internal
In this path, C:\PROGRAM FILES\SlaveSystem\ is where LANSA is installed
X_WIN95\X_LANSA\X_APPS\ is the location of all packages.
EXPORT\ is the name of the application
6.0.0\ is the version number you chose for the Package.
Note: Choosing the Go To Folder option from the Deployment Tool will take you straight to C:\PROGRAM FILES\SlaveSystem\X_WIN95\X_LANSA\X_APPS\EXPORT.
Copy the path ready for the import.
Return to the Visual LANSA Independent System which is to be connected to your VCS Master.
Start the LANSA Import. Paste the path into the Filename field and click open, then double click the lxxdir.del file. A dialog like the following will be displayed. Check Partition Definitions and User Objects. The System Objects are unnecessary and you MUST NOT import the System Definitions. Click Import.

When the import completes, close down the Development Environment and restart it.
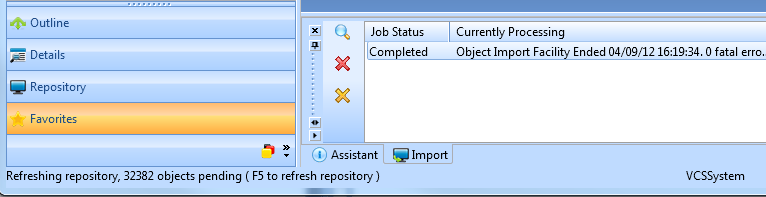
Note that once the Job Status is completed, you do not need to wait for the Refreshing Repository to complete nor do you need to press F5. So at this point you can close the Development Environment:
When you restart the Development Environment you will be prompted to initialize the partition if the import came from an older version of LANSA. Choose the options you need to use.
Populate VCS Working Folder
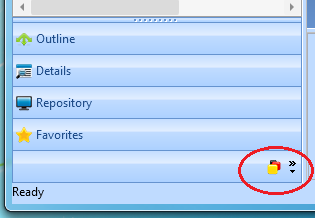
Once the Development Environment is displayed, show the Version Control tab by clicking on this icon:
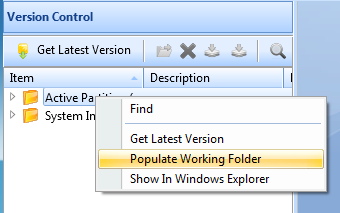
Right click on the Active Partition and click Populate Working Folder.
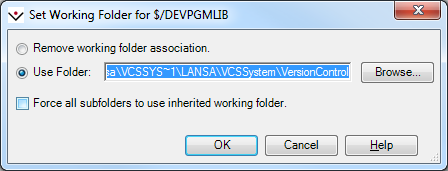
Then click Ok on the resulting dialog.
All the objects in the repository will be saved into the VCS Working Folder. This can take quite a while for a large partition and it must complete, though it can be stopped and restarted if required. It will continue from where it left off.
Repeat for the System Information. This is usually much quicker.
Pointing the Version Control System at the LANSA VCS Working Folder
Now you need to point the VCS at the LANSA VSC Working Folder; how you perform this step will depend on your Version Control System. The example used here is Vault from SourceGear. The use of this as an example is not an endorsement that this particular VCS will suit your development and management style.
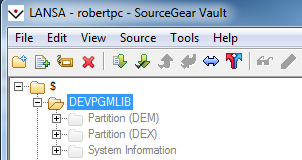
Create a Folder in your VCS to hold the entire LANSA Repository. In this example the Slave System was connected to an IBM i Master that was installed in the program library DEVPGMLIB. To indicate this relationship the folder has been named after the program library.
Now go to the LANS Development Environment and on the VCS tab click on the Active Partition and choose Show in Windows Explorer. Navigate up one level to the VersionControl directory and then copy the whole of the path. Paste this into the working folder in the VCS:
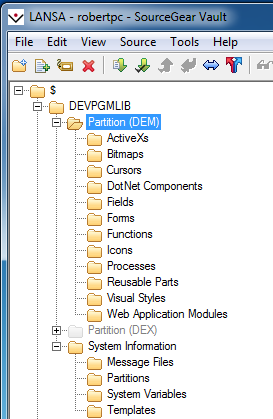
And you should see the LANSA directories ghosted in the VCS Folder:
Right click on each ghosted folder and choose Add this Folder. You'll see something like this:
Right click on DEVPGMLIB and choose Get Latest Version. This ensures the file states are up to date. In particular it sets all files to read-only.
LANSA and the VCS are now linked up together. All objects will be unavailable to edit now as they are not checked out from the VCS. (This presumes you use the Check Out/Edit/Check In concurrent development style of version control) If you open an object it will display this message:
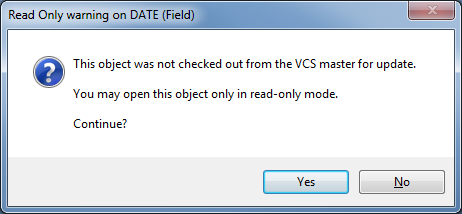
If you check it out from the VCS you will be allowed to edit it.
If you use the concurrent development style Edit/Merge/Commit, then of course the objects are always editable and you must resolve the status of the objects using the VCS.