Verify newlook Installation
Start newlook in the looksoftware suite program folder. Select option newlook 8.0.
Then select the Connect option in the Session menu.
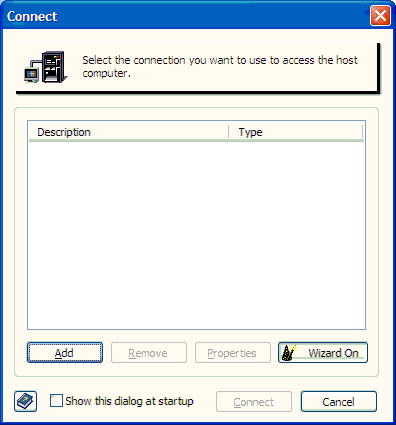
In the Connect dialog click on the Wizard On toggle button to turn it off. Then use the Add button to add the server that has the application you are going to modernize to newlook.
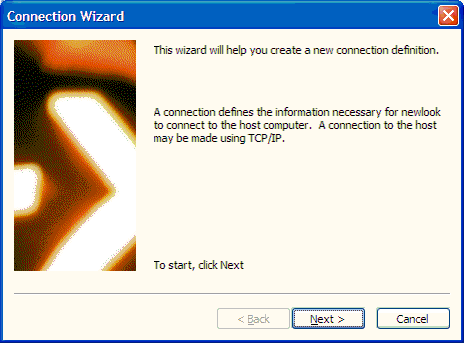
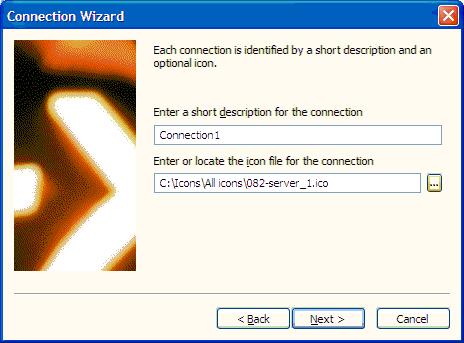
Click Next. Then specify a name for the connection:
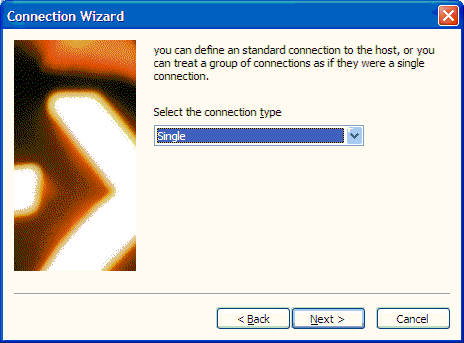
Click next. Then select the connection type:
Click Next. Then specify the internet address. Do not select Secure connection.
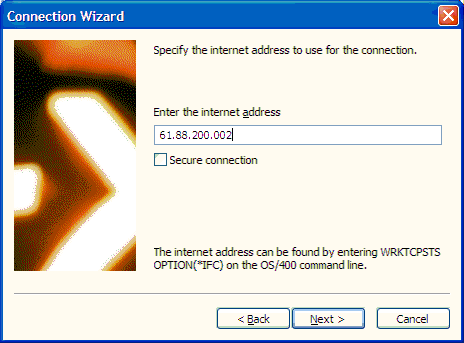
Click Next. Accept the default session type:
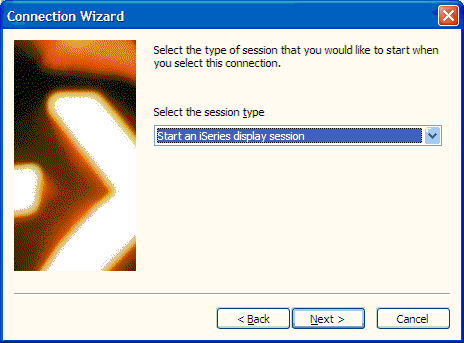
Click Next. You do not have to specify a device name. Do not select Connect using lookdirect.
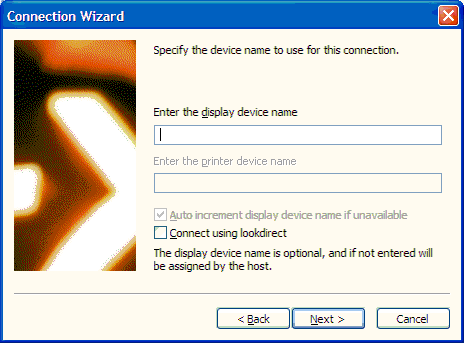
Click Next. Select the locale:
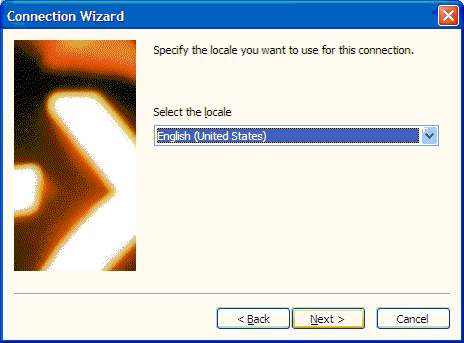
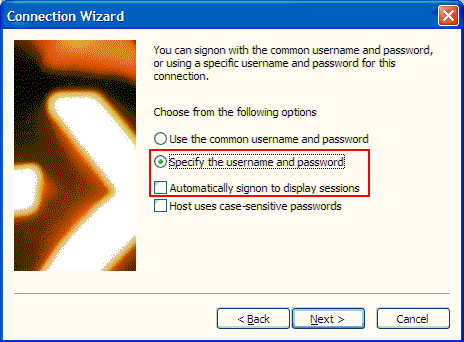
Click Next. Select the sign-on options for obtaining the newlook license from the System i:
· In most situations we recommend you select the Specify the username and password option so that the information required for obtaining the license is stored in the newlook.sid file. In this way later on you will be able to deploy a generic profile with your application and the end-user will not be prompted for the username and password. (If you choose the option Use the common username and password, newlook uses the profile stored in the HKEY_CURRENT_USER\Software\looksoftware\newlook\8.0\Sign On registry key on the PC.)
· Make sure that the Automatically signon to display sessions option is NOT selected in any RAMP applications:
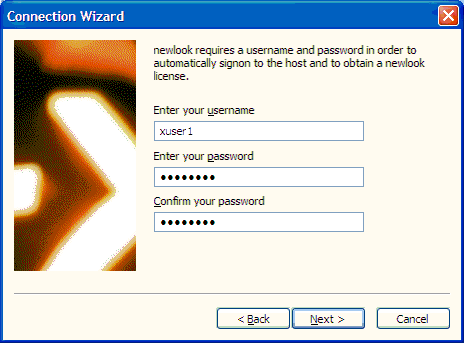
Click Next. Specify the username and password used to obtain a valid profile so that newlook can retrieve a newlook license from the System i. It is recommended you use a profile that never expires.
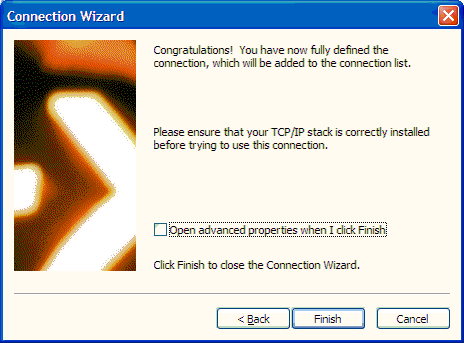
Then click Finish.
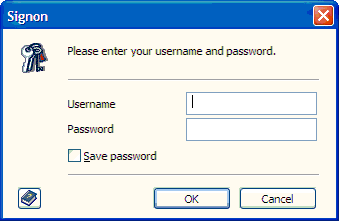
When your connection is defined, click on the Connect button. Enter the username and password to sign on to your server:
The newlook version of your server's 5250 sign-on screen is displayed:
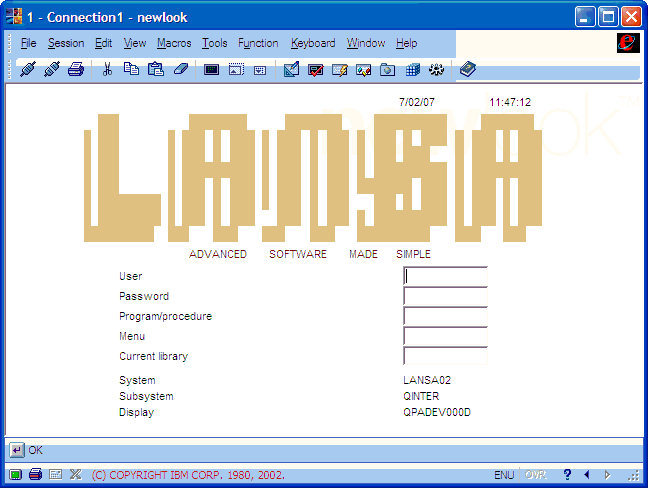
You have now verified newlook has been installed.