Displaying Records Stored on File > Printing Records
To print the records displayed on the screen, select
File
Print
To open the print record dialog box.
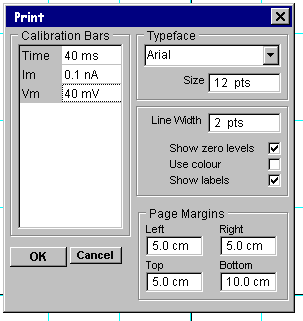
You can set the size of the plotted record on the printed page, by adjusting the size of the page margins.
The type face used to print text can be selected from the font name list and the type size entered into the font size box. The thickness of the lines used to draw the signal traces can be set using the line thickness box.
Vertical and horizontal calibration bars are added to the plot to indicate the units and scaling of the plotted signals. You can define the size of the bars by entering values into the calibration bars table.
The position of the zero level for each plotted trace is indicated by a horizontal dotted line. Zero levels can be disabled by un-checking show zero levels. Plot labelling can be disabled by un-checking the show labels check box. The use of colours within the plot can be disabled by un-checking Use colour.
When all plot parameters have been set, click the OK button to initiate printing.
Choosing a printer and output format.
To choose a printer and to select the paper format, select
File
Print Setup
to open the print setup dialog box.
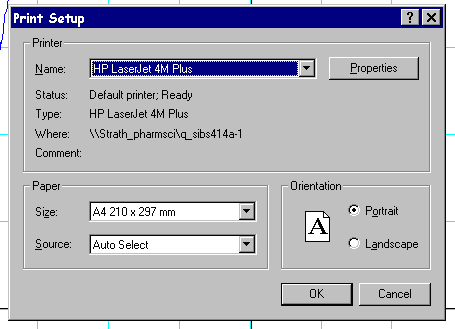
A printer can be selected from the list of currently installed printers. The orientation of the plot on the page can be selected as either portrait or landscape.