Exercise 2: Add a surface to view elevation data

Lesson 1: Analyzing Data Visually, Using Surfaces

Exercise 4: Drape a parcel layer on top of the surface

AutoCAD Map 3D Tutorials > Tutorial: Analyzing Data Using Styles, Joins, and
Buffers > Lesson 1: Analyzing Data Visually, Using Surfaces >
Exercise 3: Add a layer on top of the surface
When you add a vector feature to a map containing a 3D surface and then display the map in 3D, AutoCAD Map 3D automatically drapes the vector on the 3D surface.
NoteThis exercise uses the AnalyzeMap1.dwg map you created
and modified in the previous exercises.
- In
Display Manager, click Data
 Connect
To Data.
Connect
To Data. - In the Data Connect dialog box, under Data Connections By Provider, select Add SHP Connection.
- Click
 next to the Source File field
and navigate to the folder where you copied the sample files.
next to the Source File field
and navigate to the folder where you copied the sample files. - In the Open dialog box, select ROADS.SHP and click Open.
- In the Data Connect dialog box, click Connect.
- In the Data Connect dialog box, select the Roads layer under Add Data To Map and click Add To Map.
- Close the Data Connect dialog box.
- In Display Manager, select the Roads layer and click Style.
- In the Style Editor, click the Style entry.
- In the Style Line dialog box, change the road color to dark gray.
- Select
a dashed pattern for the lines.
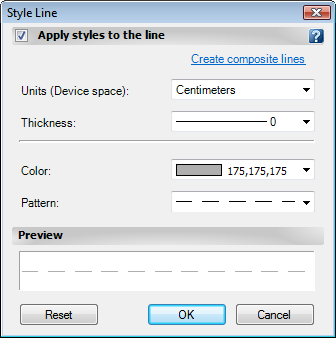
Select a dark gray, dashed pattern for the roads.
- Click OK and close the Style Editor.

Your map now contains the styled surface and road layers.
To continue this tutorial, go to Exercise 4: Drape a parcel layer on top of the surface.