Exercise 3: Join the ODBC data to the Parcels layer

Lesson 3: Using Joined Data to Create Calculated Properties

Exercise 5: Create a calculated property

AutoCAD Map 3D Tutorials > Styling, Splitting, and Using Joined Data with
Polygon Features > Lesson 3: Using Joined Data to Create Calculated
Properties >
Exercise 4: Save the properties to a new data store
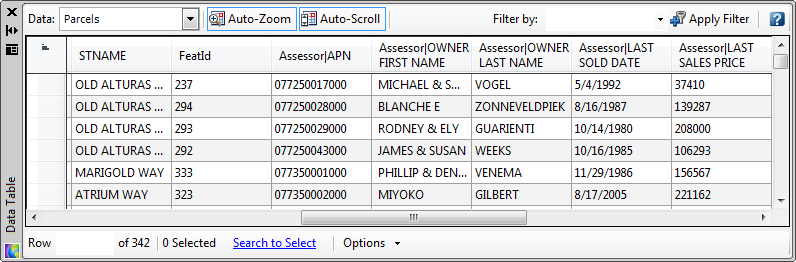
The Parcels layer now displays joined data. However, if you examine this data in the Data Table, you will see that it is gray. This reflects the fact that the joined data is not part of the original data store and cannot be edited or used in a calculated property.
However, you can save the layer out to a new data store, which will make the joined properties available as native properties in the future.
NoteThis exercise uses the
map you created and modified in the previous exercises.
To save the original and joined properties to a new data store
- In Display
Manager, right-click the Parcels layer
and click Export Layer Data To SDF.

- Specify a location and name for the SDF file and click Save.
- Create
a new map.
- Click File menu
 New.
New. - Select the map2d.dwt template.
- Click File menu
- Assign
a coordinate system to the new map.
- Switch the Task Pane to Map Explorer.
- Right-click the Current Drawing entry and click Coordinate System.
- Specify the CA-I coordinate system.
- Connect
to the new SDF file.
- In Display
Manager, click Data Connect
To Data.
- In the Data Connect dialog box, under Data Connections By Provider, click Add SDF Connection.
- Click the file icon next to the Source File field and navigate to the new SDF file.
- Select the new SDF file and click Open.
- Click Connect.
- Select the Parcels layer under Add Data To Map and click Add To Map.
- In Display
Manager, click Data
- Right-click the Parcels layer from the new SDF file and click Table.
- In
the Data Table, scroll to the right.
The joined properties are no longer gray. They are native properties of the new SDF file.
To continue this tutorial, go to Exercise 5: Create a calculated property.