Exercise 2: Define the theme

Lesson 2: Style Map Features

Lesson 3: Change the Display by Zoom Level

Exercise 3: Add labels
Add a label for each parcel, based on its land value.
NoteThis exercise uses the BuildMap1.dwg map you created and
modified in the previous exercises.
- In
the Style Editor, select Create Feature Labels and
click
 next to the picture of the Label
Ramp.
next to the picture of the Label
Ramp. 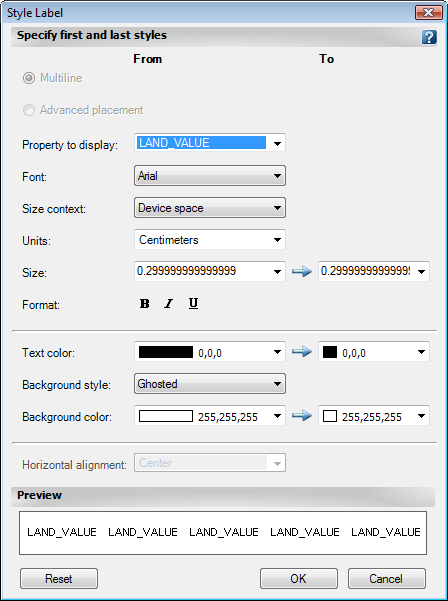
Select the property whose data will be displayed in the labels.
- In the Style Label dialog box, for Property To Display, select LAND_VALUE. Leave the other settings at their current values for now.
- Click OK to close the Style Label dialog box. Click OK again to apply the theme to your map.
- Close the Style Editor so you can see your map again.
- Use
the Zoom Window tool to zoom in so
you can see the labels.TipThe smaller you draw the zoom window, the larger the magnification will be.
- Save your map.

Themed parcels with labels
In the map, the parcels are colored to represent their relative values, which are displayed as labels on each parcel.