Step 1 Build the Address Entity
From Visual LANSA Logical Modeler
Step 1. Build the Address Entity
In this step, you will build the Address entity. The Address is a conceptual entity so it will have no file definition.
1. Ensure the model you created in the previous tutorial is open.
2. Begin the build process for the Address entity by selecting Address and then selecting the menu and choosing the option, or by selecting Address and clicking the toolbar button, or by right-clicking Address and choosing the Build… option from the pop-up menu.
The Submit Entity Build dialog will be displayed:
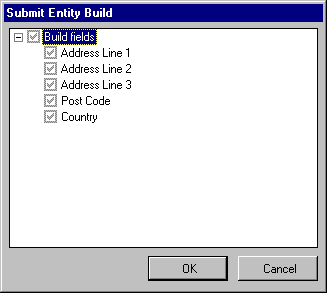
The dialog displays a list of build activities which will be performed for the entity.
Note that because the Address entity is a Conceptual entity, only its fields can be built.
Note also that, because neither the entity nor any of its elements have been previously built, all elements have been selected and cannot be deselected.
3. Click the button.
A message box will be displayed informing you that build activities have been queued and asking whether you wish to view the Builder Queue at this point.
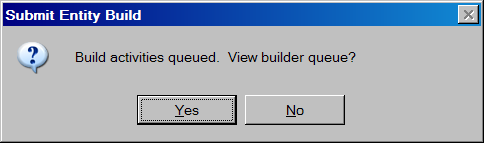
4. Click the button.
The following window will be displayed:
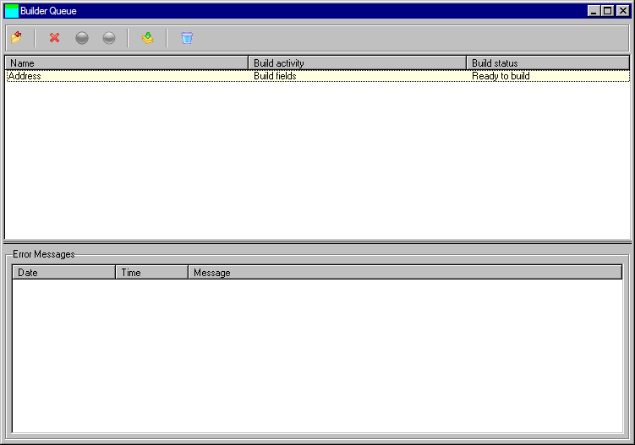
This is the Builder Queue where repository builds are executed from.
The top pane of the window contains a list of build activities to be performed. Note that entities can have up to three build activities:
- Build repository fields,
- Build database file and
- Build relationships.
Each build activity has a status. By default, activities are submitted to the queue in a Ready status. Individual entries can be deleted, held and released, in a similar fashion to an iSeries job queue.
5. Select the only entry in the list and click the ![]() Hold toolbar button.
Hold toolbar button.
Note that the build activity status is set to Held. This means that the build activity will not be performed if you perform a build at this point – it must first be released.
6. Click the ![]() Release toolbar button to release the build activity.
Release toolbar button to release the build activity.
Note that its status is reset to Ready.
7. Click the ![]() Build toolbar button to start the build.
Build toolbar button to start the build.
A progress bar will be shown while the build is being performed. Note that the status of the build activity changes to Active and then to Built. A status of Built denotes that the build completed with no errors.
8. Click the ![]() Close toolbar button to close the Builder Queue.
Close toolbar button to close the Builder Queue.
9. Display the Build Status view of the Address entity.
It should appear something like this:
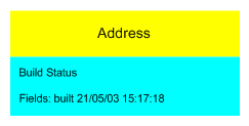
Note that the build status of the Address fields has been set to built and that the date and time of the status change is shown.
10. Redisplay the Elements view of the Address entity.
11. Display the Builder Queue by selecting the menu and choosing the option or by clicking on the ![]() Build toolbar button.
Build toolbar button.
The Build Repository Fields activity for Address is still in the queue with a status of Built.
12. Click the ![]() Purge toolbar button.
Purge toolbar button.
The following window will be displayed:
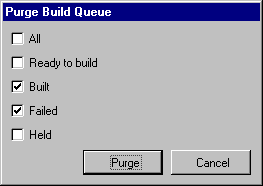
This window allows you to purge the Builder Queue of unwanted entries. By default, entries with a status of Built or Failed can be purged. However, either All or any combination of the Ready, Built, Failed or Held statuses can be purged.
13. Click the button.
Note that, because the entry in the list had a status of Built, it has been removed from the list.
14. Close the Builder Queue.