- To launch IPFX Director Softphone, double-click the IPFX Director Softphone shortcut on your Desktop:

or press the IPFX Director Softphone shortcut on Start\All Programs\IPFX menu:

- IPFX Director Softphone requires some information about the environment in which it is running much like its physical counterpart, the hardware IP phone.
Some of this information may optionally be downloaded from IPFX Director server. When IPFX Director Softphone launches it checks your computer to see if it has this information available to it. If this information is not available, it will run a Configuration Wizard to obtain this information from you.
The first page of the Configuration Wizard is as follows:
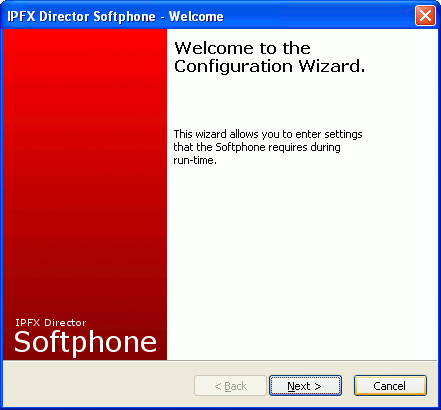
This is displayed so that you know IPFX Director Softphone requires information from you before it can start. Press Next to continue.
- The next page is where you may optionally download part of the required information:
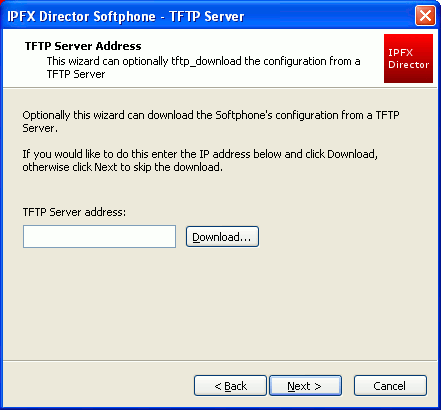
- If your personal extension has been created on the IPFX Director server, you may download its information by entering the IP address of IPFX Director server (which you can get from your Network Administrator) and pressing the Download button. If you do no want to download the information, you may press Next to skip this step.
- If you choose to download the information and have more than one device on your computer, you will get the following dialog box:
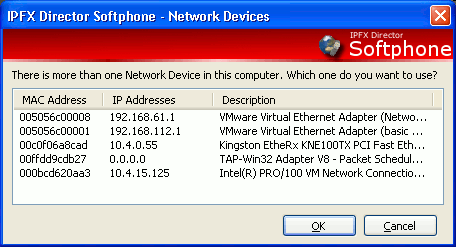
- Select the device and press OK to continue with the configuration (your Network Administrator can tell you which device to use).
The following progress dialog box will display:
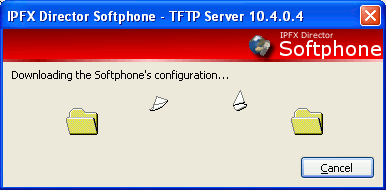
- Once the configuration is downloaded, the following dialog box displays:
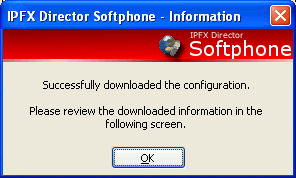
- Press OK to review the information downloaded from the TFTP server:
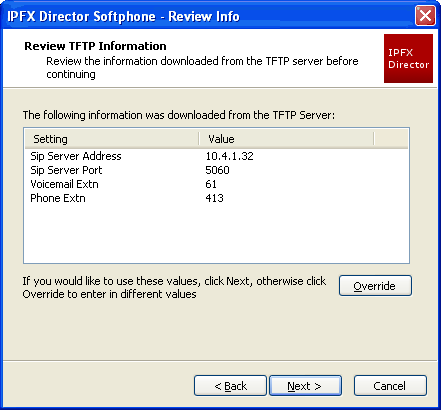
As the page suggests, if you are unhappy with the information you may override the values by pressing the Override button. If you are satisfied with the values, you may press the Next button.
- The following page displays after the TFTP Server Address screen (and when you press the Override button above). This page allows you to specify what the IP address and port are for the IPFX Director server:
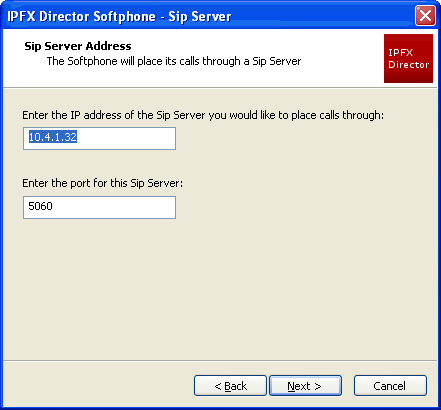
Your Network Administrator can inform you of the details for this page. Press Next to continue.
- The next page allows you to specify which extension you have been allocated on IPFX Director server, and which number you call to access the Voicemail system:
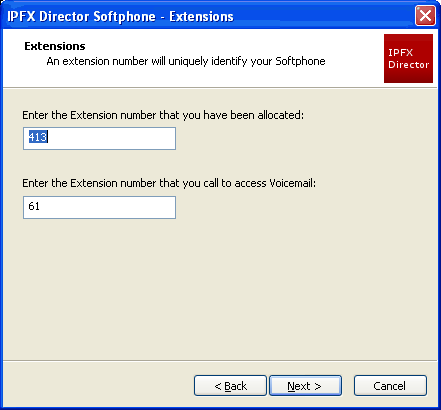
Your Network Administrator can inform you of the details for this page. Press Next to continue.
- The next page displays after the Extensions screen (and the Review TFTP Information screen if you pressed the Next button). This page allows you to specify which microphone and speaker you would like IPFX Director Softphone to use.
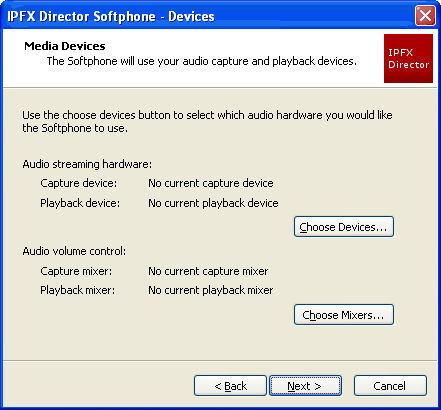
You must choose a microphone device and a speaker device, and also devices to control the volume of the audio data. Most of the time the volume devices are the same as the streaming devices.
- First choose your streaming devices by pressing the Choose Devices... button. The following dialog box will appear:
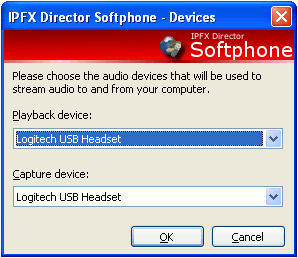
Use the drop-down list boxes to specify a speaker device (Playback) and a microphone device (Capture). Press OK to choose these devices and return to the Media Devices screen.
- The Media Devices screen automatically chooses the volume devices that best suit your chosen streaming devices. If you would like to choose different volume devices, press the Choose Mixers... button for the Mixers dialog box:
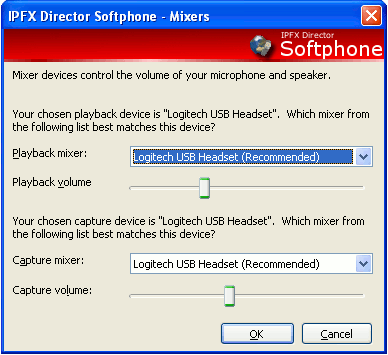
The drop-down box will be populated with the recommended mixer. If a recommendation is not displayed, choose the mixer that is most appropriate (you may change these later if required). Press OK to accept the mixers and return to the Devices screen.
- On the Devices screen, press OK to continue.
- The next page allows you to specify which network device and, therefore, which network you want IPFX Director Softphone to operate on:
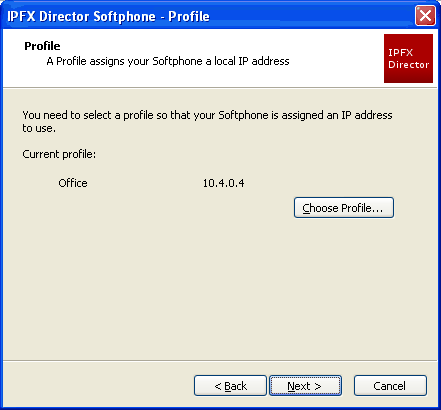
Press Choose Profile... to open the next dialog box.
- This dialog box shows you the IP addresses allocated to your local computer:
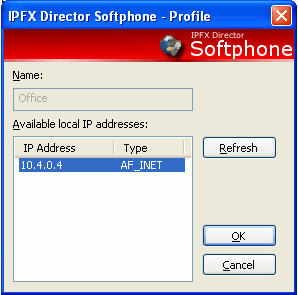
In most cases you will only have one IP address here but, if you have more than one IP address, your Network Administrator can tell you which one will allow your local computer to communicate with IPFX Director server. Highlight the appropriate IP address and press OK to move to return to the Profile screen.
- On the Profile screen, press Next to go to the Conclusion screen:
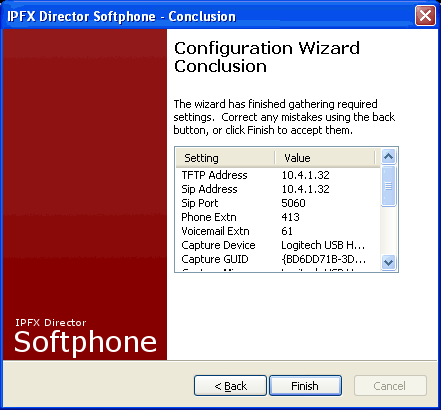
You may review the information collected by scrolling through the list view control. If you're unsatisfied with any of the values you may use the Back button to return to the relevant page and correct the values. Press Finish to close the Configuration Wizard.