There are many settings and parameters that can be configured
for each session. This page will walk you through the Session Properties
dialog and explain how each of the settings affect a terminal session.
The session properties dialog consists of the following
tabs:
Connection
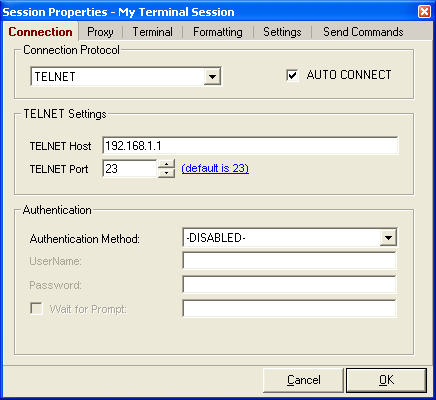
The connection tab provides options to configure the terminal
connection settings.
Connection Protocol
The supported connection methods and protocols are listed
below with their respective connection settings.


Auto Connect
If the auto-connect option is enabled, the terminal session will attempt
to automatically connect each time the session is opened.

Authentication Settings
Depending on the connection method/protocol seletect, authentication
method properties may be available for the terminal session.
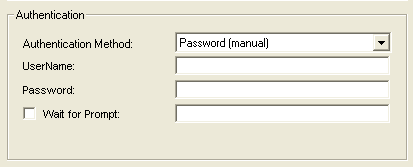
Indigo supports
the following authentication modes:
- Disabled - no authentication method will be used
- Password (manual) - this is used when the terminal server/device
supports on on screen login prompt. If this option is selected, Indigo
will simply pass the username and password upon connection as if you
typed it in upon connection. This option can be used in conjunction
with the Wait for Prompt option. If Wait for Prompt is enabled, Indigo
will wait until the user specific text is received before sending
the login credentials. An example of Wait for Prompt would be somehting
like "Please Enter Username".
- Password (connection) - the terminal server/device supports a connection
based login. This is common authentication option for REXEC, RSH,
RLOGIN, SSH1, SSH2, SSH AUTO.
<return
to top>
Proxy
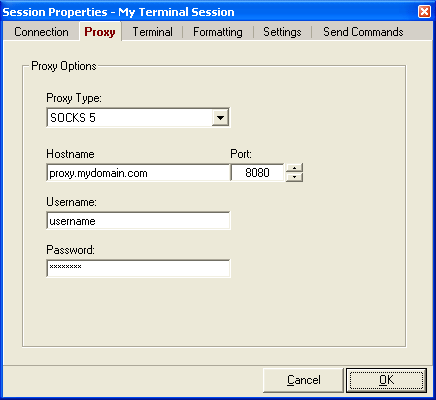
Indigo support
proxy router based connections. Simply enter your proxy type and proxer
server settings on the proxy tab in the session properties dialog.
<return
to top>
Terminal
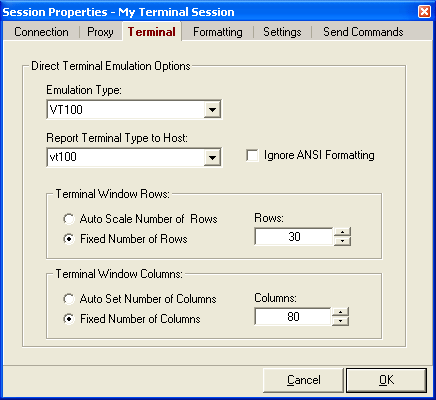
When a terminal session window is configured to use the
Direct Terminal Mode view mode, VT
emulation and direct terminal input is supported. On the Terminal tab
in the session properties dialog, you can configure the emulation type
and the terminal screen size. Indigo
also supports a dynamic screen resizing feature. To enable dynamic resizing
set the Terminal Windows Rows to Auto Set Number of Rows
and the Terminal Windows Columns options to Auto Set
Number of Columns.
<return
to top>
Formatting
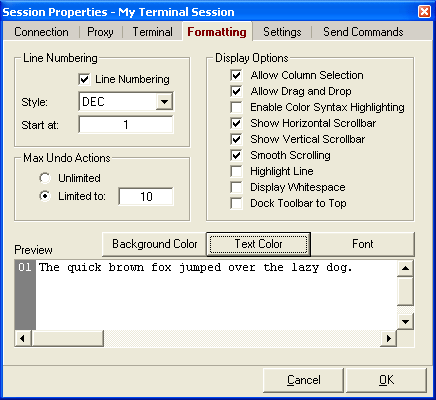
The session formatting options allow you to customize
the look of a session window. You may optionally enable line numbering,
alter fonts, change colors, and choose a number of other configurable
display options.
<return
to top>
Settings
The settings tab hosts a number of other session runtime
options.
Multi-Command - this option allow multiple
data send commands to be stacked in a single command line, separated
by a delimiter character. This option is enabled by default and the
pipe '|' character is the delimiter character.
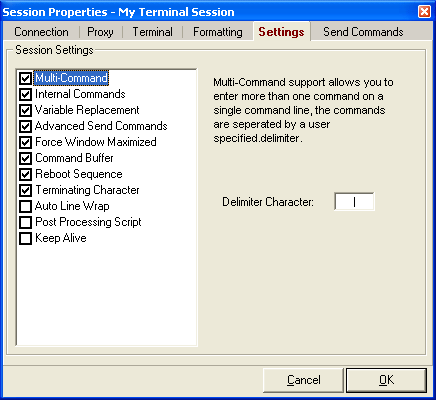
Internal Commands - this option enables/disables
the internal command interpreter. See the "Internal
Commands" help topic for more information about this feature.
This option is enabled by default.
Variable Replacement - this option enables/disables
variable replacement in data send commands. See the "Variable
Manager" help topic for more information about this feature.
This option is enabled by default.
Advanced Send Commands - this option
enables/disables advanced multi-byte send commands from being interpreted
by the command interpreter. See the "Advanced
Send Commands" help topic for more information about this
feature. This option is enabled by default.
Force Window Maximized - if this option
is enabled, the session window will be forced to a maximized state each
time the session file is opened.
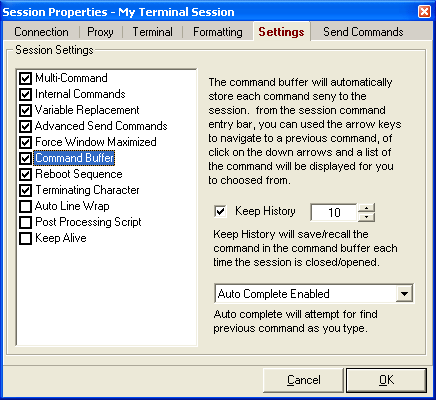
Command Buffer - this option allow the
session window command drop down box to store recently sent data commands.
You can specify the number of commands you would like the session window
to store. Additionally, you can enable the Auto-Complete feature for
the command drop down box to auto suggest and auto complete the command
you are typing.
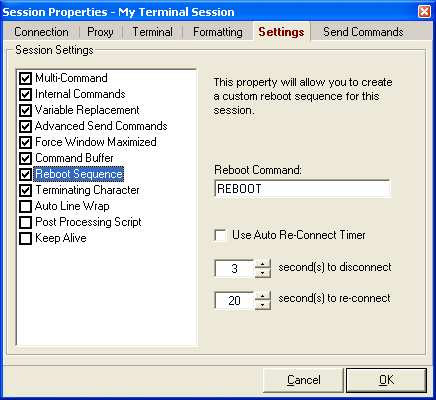
Reboot Sequence - this option configures
the session reboot options for the reboot menu item on the "Session"
menu and the session window right-click popup menu. The reboot command
is the data command sent to the device to initiate a reboot. The auto
reconnect timer is used to disconnect the terminal session and re-establish
a connection after the specified time has elapsed.
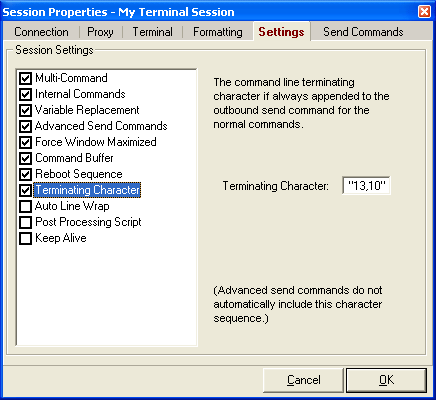
Terminating Character - this option configures
the byte sequence that is automatically appended to each command that
is sent from the session window. This field supports the advanced
send command format such as the default of "13,10"
which represents Carriage Return & Line Feed. You can disable this
feature if you do not wish for Indigo
to automatically append bytes to each command sent.
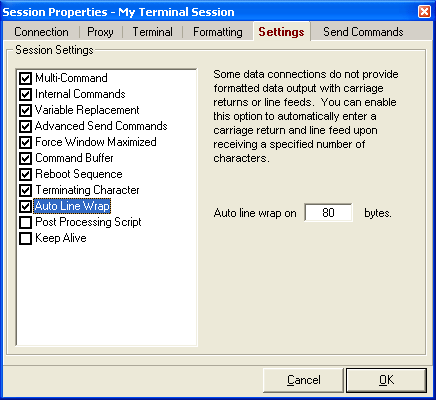
Auto Line Wrap - this option will force
data in the terminal session data window to automatically wrap each
line after the specified number of bytes have been reached. This option
is useful for terminal sessions or devices that do not support a formatted
data output. For example, if you are communicating via a serial connection
with a raw device protcol, the device may only return a seqience of
protocol bytes, no really intended for viewing on screen. This option
will allow you to maintain the output data on screen rather than on
long continious line of streaming data.
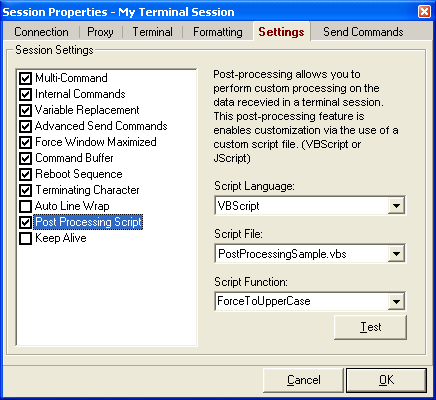
Post Processing Script - this option
will enable received session data to be routed through a custom script
file for processing before it is printed to Indigo's
terminal data window. An example script: PostProcessingSample.vbs
has been included serve as an example to create your own custom scripts.
Use this option with care as external scripts can decrease the performance
of Indigo.
<Click
here for more information on the Post Processing Script feature>
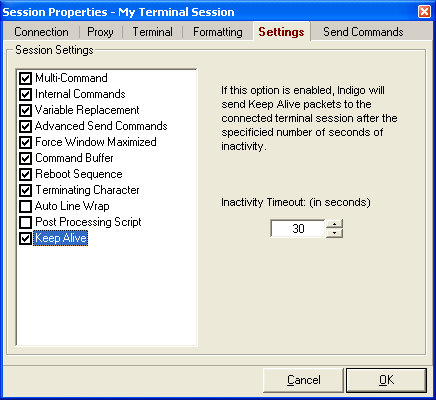
Keep Alive - this option will enable
keep alive data packets to be sent to the connected terminal session
after the specified number of seconds of inactivity. Your terminal server/device
must support keep alive functionality..
<return
to top>
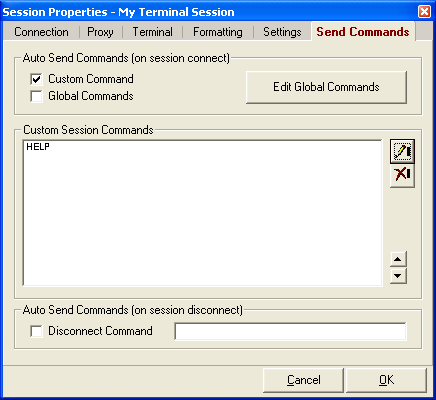
Send
Commands
The send commands tab lists the auto send commands and
which auto send command lists this session is subscribed to. Please
see the "Auto Send Commands"
help topic for more information about this feature.
<return
to top>