Getting Started
You can start creating and printing your label by starting the Nero Cover Designer application direclty by clicking, Start -> Programs -> Nero -> Nero 6 -> Nero Cover Designer.
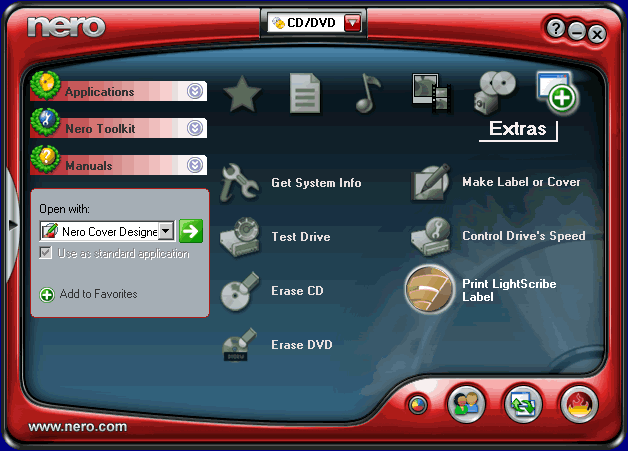
You can also begin creating a LightScribe label with Nero Cover Designer by starting with Nero StartSmart. First open the Nero StartSmart application. Click on Start -> Programs -> Nero -> StartSmart. Click on "Extras" on the task are of the Nero StartSmart screen. The "Print LightScribe Label" icon will appear on the task area.

FYI! The "Print LightScribe Label" icon will only appear if you have a LightScribe capable drive installed.
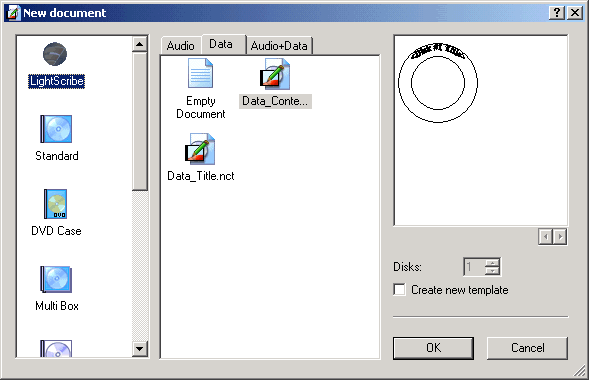
Click on the 'Print LightScribe Label" icon and the "New Document" window will appear in Nero Cover Designer. Select the "LightScribe" icon to begin creating your label.

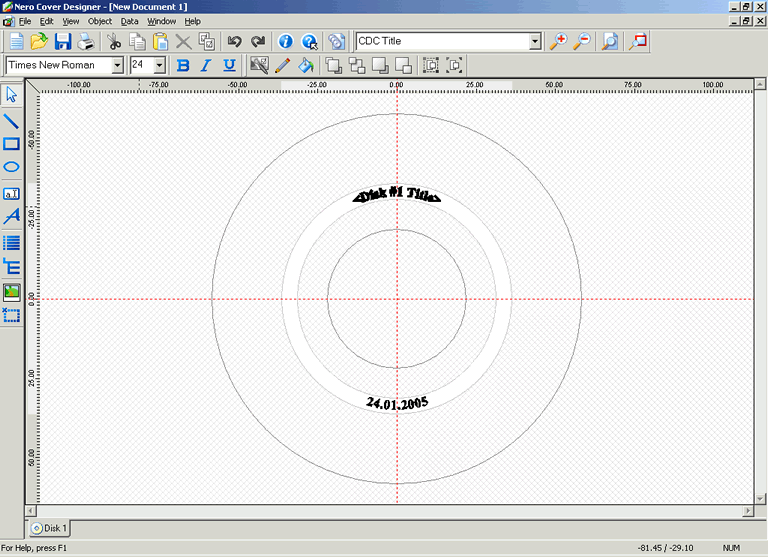
On the main window in Nero Cover Designer you can create and edit your label exactly as in Nero Express and Nero Burning ROM. See Section Creating a Label with Nero Express for more details

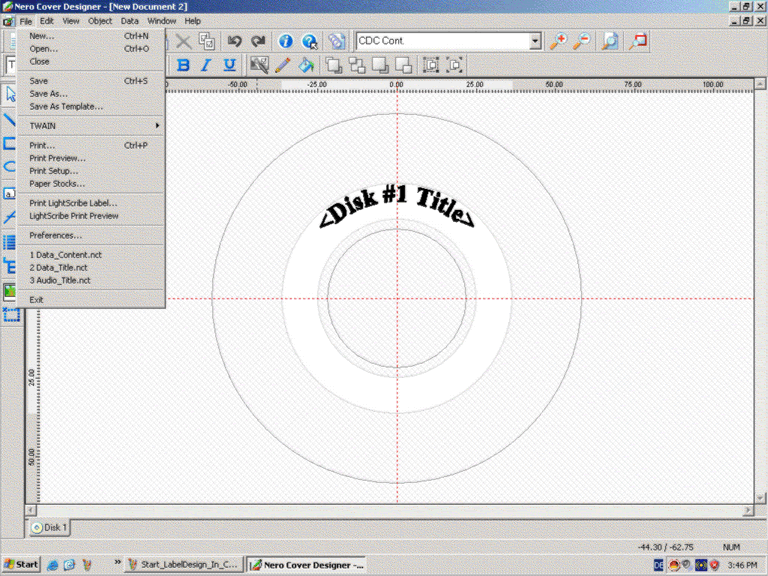
When you are finished creating and editing your label, click the "File" menu and click "Print Preview" to view your label before you print, or click "Print" to begin printing your label. The printing process is the same as in Nero Express, See Section "Printing a Label" for more details.


