Burning Data and Print Labels
From Nero LightScribe
Burning Data and Print Labels
You can also print your LightScribe label while carrying out the normal burning process using Nero Express.
Insert a LightScribe capable disc into your LightScribe drive.
Select the type of CD you want to burn from the menu on the main screen of Nero Express.
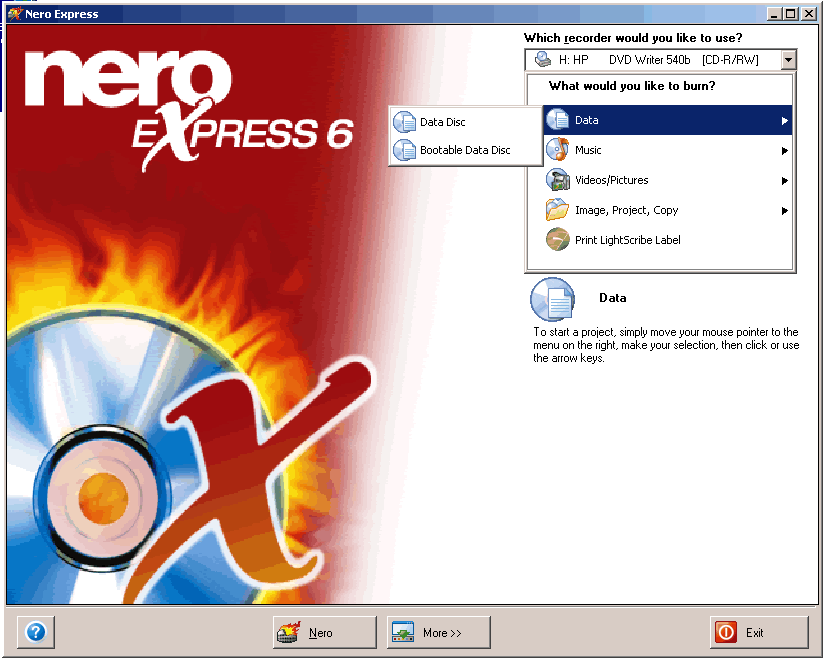
This will lead you to the "Disc Content" window of Nero Express.

Add the data you want to burn by clicking on add button and selecting the data you want to burn.
Click on the next button to continue. The "Create disc label" window will appear.
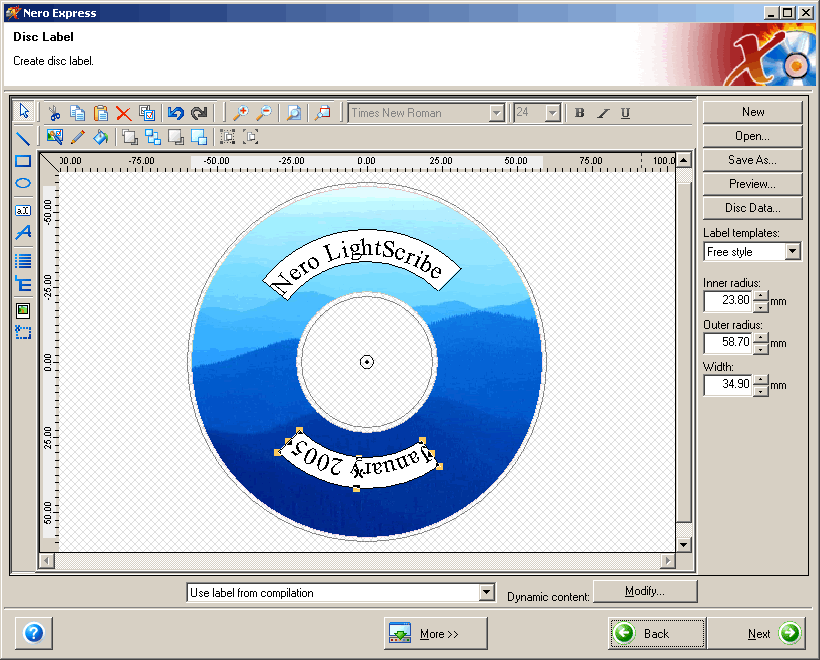
For instructions on how to create and edit your label template, see Section 'Creating a Label with Nero Express' of this guide.
When you have finished creating and editing your label template, click on the "Next" button.
Nero Express will begin burning the data onto your disc.
When the data burning process is complete, the LightScribe Print Properties window will appear.
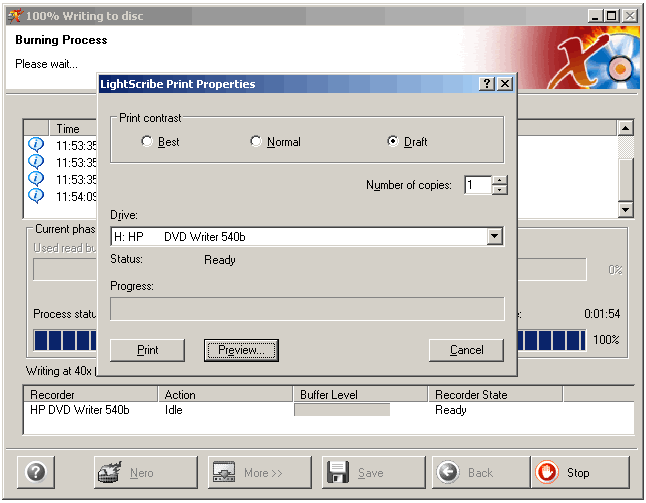
At this stage the tray on your LightScribe disc drive will pop out and you must then flip the disc over onto the opposite side.
Select the print contrast that you want (see Section 'Print Preview') and either preview what your label will look like when it is printed (Section 'LightScribe Label Preferences') by clicking on "Preview" or click on "Print" to begin the printing process.
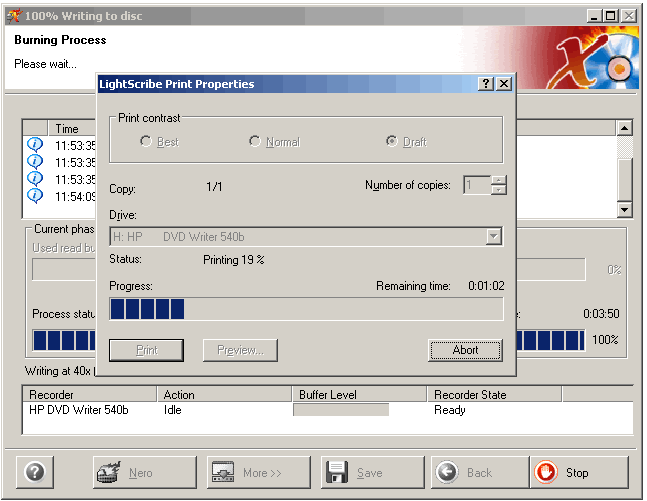
FYI!The printing process can take quite some time to begin and to be completed. Please be patient while waiting for your label to be printed.