Using Account Code Change
![]() Individual
Changes
Individual
Changes
![]() Multiple
Changes
Multiple
Changes
![]() Posting
Changes
Posting
Changes
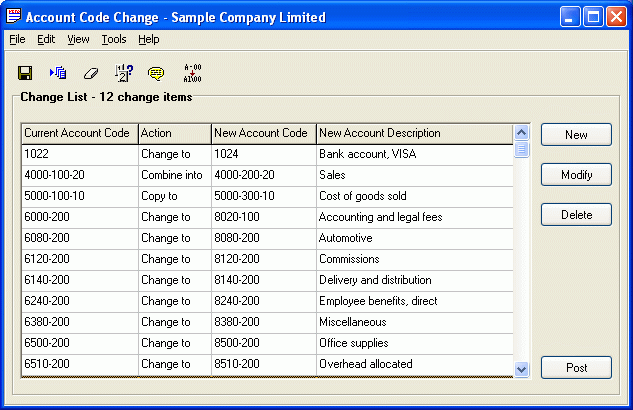
The Change List window is Account Code Change's main window. It displays change list entries, a listing of proposed but not posted Account Code changes, as in the following example:

Adding Changes
There are three choices for creating entries for the Change List. One way is to add entries to the Change List individually from the New Window. You can also create multiple entries by using the Change by example feature. The third way to create entries for the Change List is to import the changes from an external file in Excel, Lotus or ASCII Text format.
Editing Changes
To edit an entry in the Change List, highlight the desired entry and then either double-click it or press the Modify button. This will open the Modify Window.
Deleting Changes
To delete an entry in the Change List highlight the desired entry and then either press the Delete button or the DEL key.
Printing the Change List
The Change List can be reviewed on screen by visually scanning the List. It can also be printed to the screen or sent out to the printer for review. Select Print Preview from the File menu and then press the Change List button to print the Change List to the screen. Select Print from the File menu and then press the Change List Button to produce a hard copy of the Change List.
Posting Changes
When the Change List is complete, you are ready to post the changes which will update all of your Sage 300 ERP files.
Note: User may be required to make their changes manually on some files if the company has activated the Cost Center Overrides option in Canadian Payroll or US Payroll.