The ability to apply video filters to a video is one of VirtualDub's more powerful features. This allows application of a number of algorithms to improve the quality of a video, including noise reduction, blurring, sharpening, brightness/contrast, and gamma correction.
Using video filters
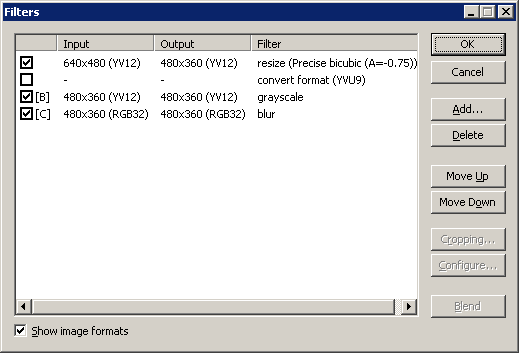
The Video > Filters... menu command is the entry point into using the video filter system. Video filters in VirtualDub are arranged in a linear chain, such that the output of the first filter becomes the input of the second, the output of the second becomes the input of the third, and so on. Therefore, the order in which the video filters are listed is the order in which they are applied. By default, no filters are in this list, meaning that the video filter system is skipped entirely.
The video processing mode must be set to Full processing mode for the video filter system to be enabled. If the video processing mode is set to anything else, the Filters... menu option is grayed and the video filter chain is disabled.
For more information, see the documentation for the video filters dialog.
Common video processing operations
VirtualDub contains a number of internal video filters that assist in a number of common video processing tasks. Consult the video filter reference for full details, but here are some useful filter techniques:
- The resize filter will change video to a different resolution (size), in pixels. It can also be used to letterbox a video by adding borders.
- Levels is useful to adjust brightness and contrast in a video, particularly when blacks are not truly black, or whites are not truly white.
- You can crop at the beginning of any filter by selecting it and then the Crop button. If you don't have any filters, though, just add null transform to give you a place to crop.
- Temporal smoother can be effective at denoising a video. You will need to adjust the threshold to set a balance between less noise and motion artifacts, however.
- Use chroma smoother to correct for blocky color produced by video codecs that do not interpolate color information properly.
- Rotate a video by 90° increments until it is upright, or use the slower but more powerful rotate2 if the rotation is arbitrary.
- When video shows keystoning from being displayed or shot off-center, try perspective to map it back parallel to the screen.
- Stamp a logo on video to mark it as yours.
The order in which filters are applied can make a significant difference in performance and quality. In terms of performance, a smaller video frame is faster to process, so when down, try putting filters after the reduction, and when resizing up, prefer placing them before the enlargement. In terms of quality, blurring reduces noise, and sharpening amplifies it — so do your noise reduction early and your enhancement transforms late.
External video filters
VirtualDub exposes an application programming interface (API) that allows video filters to be written as plugins, extending the video filtering capabilities of the program. Such plugins can include effect plugins that render on top of the video, such as adding an animated logo or titles, or add noise reduction, motion compensation, and deinterlacing capabilities.
Video filters can be loaded on the spot by using the Load... button on the Add Filters dialog, but for filters that you use frequently, an easier way is to place them in the plugins folder inside the VirtualDub program directory. Any .vdf files in this folder are automatically loaded on startup, and the plugins within added to the available list. Note that VirtualDub does not currently support video filters written to a standard other than its own API.
Check the VirtualDub website for downloadable documentation and C++ header files for writing your own video filter.