1.6. Starting VirtualBox
From Oracle VM VirtualBox
After installation, you can start VirtualBox as follows:
-
On a Windows host, in the standard "Programs" menu, click on the item in the "VirtualBox" group. On Vista or Windows 7, you can also type "VirtualBox" in the search box of the "Start" menu.
-
On a Mac OS X host, in the Finder, double-click on the "VirtualBox" item in the "Applications" folder. (You may want to drag this item onto your Dock.)
-
On a Linux or Solaris host, depending on your desktop environment, a "VirtualBox" item may have been placed in either the "System" or "System Tools" group of your "Applications" menu. Alternatively, you can type
VirtualBoxin a terminal.
When you start VirtualBox for the first time, a window like the following should come up:
|
|
This window is called the "VirtualBox Manager". On the left, you can see a pane that will later list all your virtual machines. Since you have not created any, the list is empty. A row of buttons above it allows you to create new VMs and work on existing VMs, once you have some. The pane on the right displays the properties of the virtual machine currently selected, if any. Again, since you don't have any machines yet, the pane displays a welcome message.
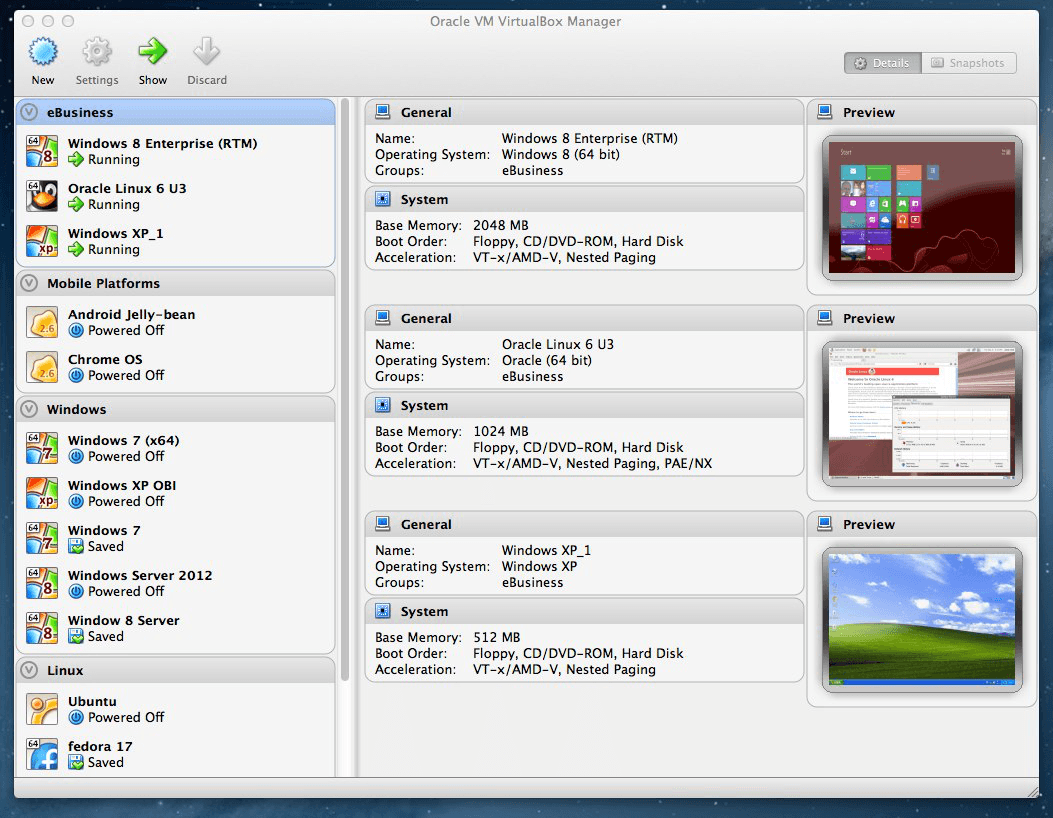
To give you an idea what VirtualBox might look like later, after you have created many machines, here's another example:
|