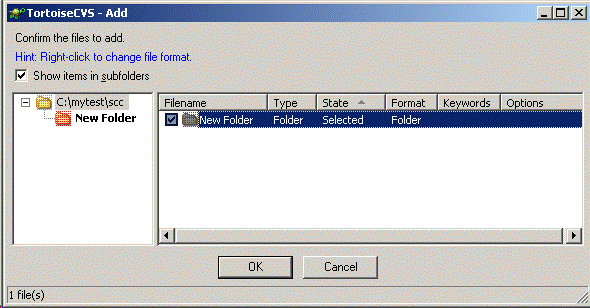
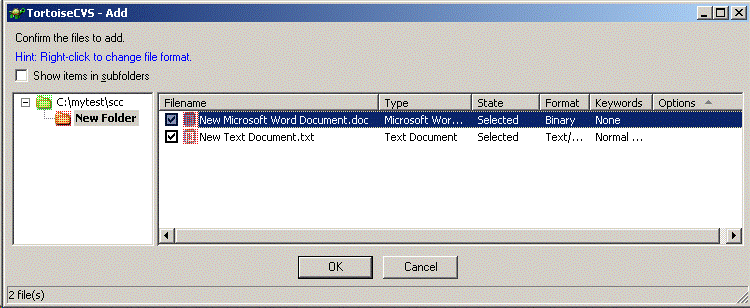
If you have made new files or directories you will notice that they appear with the Not In CVS status icon overlay (see Windows Explorer and TortoiseCVS). To put new files or folders under CVS control select the item(s) that you want to add, right-click and choose CVS Add from context menu to schedule the addition. The Add Dialog is displayed so you can verify the file you are adding.
You do not need to worry about whether a file is ASCII/Text, Unicode/Text, or Binary as TortoiseCVS automatically detects this. For more on how TortoiseCVS handles this see Binary and Unicode Detection.
After an add operation has been performed, the file or files icons appear as "changed". This is because additions are treated as local changes and are not applied to the repository until you Commit them.
Additionally, you can add a number of files and folders to CVS using the CVS Add Contents... command. This operation recursively descends down the folder structure, and displays all unadded files in the Add Dialog. Here you can check and uncheck the files and folders you wish to add to CVS.
For more information see Adding New Files: CVS Add and CVS Add Contents....

