Step Five - Ready to Install
From Voice Capture Solo Client
Step Five - Ready to Install
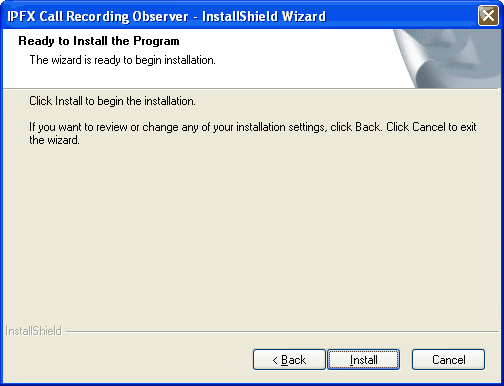
Once all the details have been entered correctly the installation wizard will stop you at the "Ready to Install" screen. It is at this point that any changes to the installation details should be made. Click the "Back" button to return sequentially through the previous screens to make any neccesary changes or click 'Install' to begin the installation.
It should only take a few seconds to complete the installation. If the installation process is successful you will be presented with the completion screen.