Create a Deployment
From AutoCAD Land Desktop
Start the Deployment Process
Use the Installation Wizard to Set Up a Deployment
Enter Product and User Information
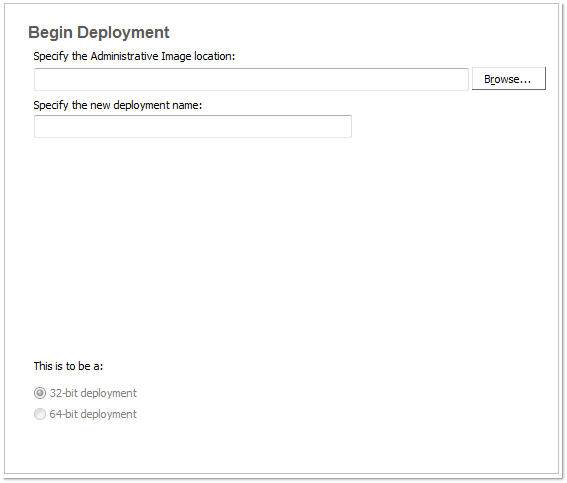
A deployment contains a Microsoft Transform (MST) file that modifies the default behavior of the installation program. As you begin a deployment, you need to select the location of your Administrative image, a deployment name, and if your target systems are 32 or 64-bit operating systems.
- In the Installation wizard, click Create Deployments.
- On
the Begin Deployment page, enter the location of your Administrative image
or click the Browse button to locate your image. Enter your deployment’s
name, and if your target systems are 32 or 64-bit operating systems.NoteThe deployment location should be a shared network folder. To create a shared folder, see Create Shared Folders for Your Deployments.
- On the Select the Products to Include in the Deployment page, select the products and click Next.
- Review
the Autodesk software license agreement for your country or region.
You must accept this agreement to proceed with the deployment. Choose
your country or region, click I Accept, and then click Next.NoteIf you do not agree to the terms of the license and want to terminate the deployment process, click Cancel.
- On the Product and User Information page, enter the serial number and requested personalization data. Click Next.
- On the General Deployment Settings page, choose whether or not you want to create a network log and its location, and a client log. You can also run the client’s installation in silent mode and if you want users to participate in the Customer Involvement Program. Click Next.
- If you do not want to make configuration changes on the Review - Configure - Install page, click Create Deployment. Then select Yes in the prompt, to continue installing using the default configuration.
- Select the Register products online link to register and activate your product, or click Finish and register and activate later.