WEB-RAMP-NL, Step 2c. Create RAMP.cab file and copy it to the RAMP_Newlook Folder
From VLF Deployment Check Lists
WEB-RAMP-NL, Step 2c. Create RAMP.cab file and copy it to the RAMP_Newlook Folder
The RAMP cab file will contain the newlook.sid and newlook.ini configuration files. These are unique to a particular application. You need to create this file yourself then move it onto the RAMP_newlook directory on your web server.
|
Optionally reduce the size of newlook.SID file |
Before you build your cab files it is recommended that you compact the newlook.SID file to make deployment of newlook to the target system faster. |
Take a backup of the newlook.sid file as a precaution Close any newlook sessions Open a DOS prompt Navigate to your newlook program files directory To remove newlook developer features from the .SID file and build a new compacted .SID file type: CHKSID -s newlook.SID
Or if for some reason you want to retain the developer features but build a compacted sid file, type: CHKSID -r newlook.SID
Press <Enter>. If you are asked whether you wish to delete corrupt items select 'Yes'. When the compression is complete, the original file is backed up to a file of the same name but with an extension of .BAK. Please test that your RAMP-NL application executes correctly after you have performed these steps and before you build the CAB files.
|
|
|
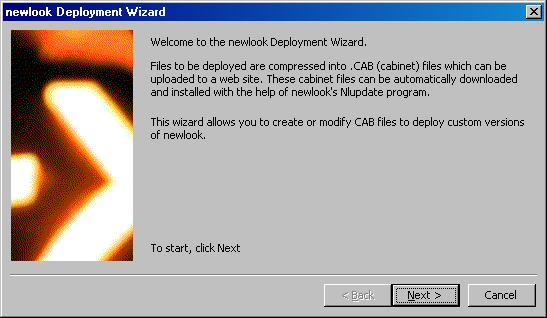
Start the newlook Deployment Wizard |
Locate file nldeploy.exe in the looksoftware 8.0 directory and start the application. This application will be used to create the RAMP.cab file holding our own .SID and .INI files.
|
To start click Next.
|
|
|
Enter newlook path name |
Enter the path name in which your newlook installation resides (the top-level directory which contains the files to be deployed).
Click Next. |
For a default installation this will be C:\Program Files\looksoftware 8.0.
|
|
|
Use the default target path name |
You may leave the default value as it is. The value entered here is used in the nlupdate.nlu file created by this nldeploy.exe application. In WEB-RAMP-NL, Step 2b. Copy newlook files to RAMP_Newlook folder we created our own nlupdate.nlu (with the suffix changed to .txt), so we will not be using the one created by this application.
|
Our nlupdate.txt file already has set this value to %PROGRAMFILES%\LANSA RAMP newlook.
|
|
|
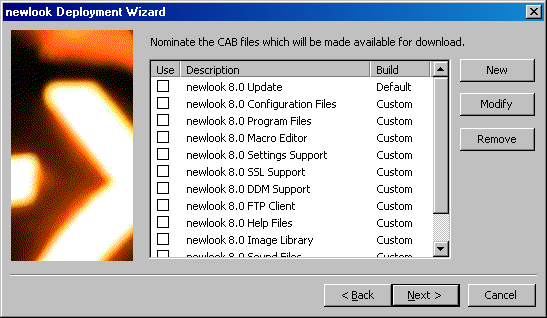
Create a new cab file called RAMP.cab |
Create the definition for the CAB file that will contain your site specific information (that is, the .INI and .SID files). Select the New button on the screen where you nominate the CAB files which will be available for download. |
|
|
|
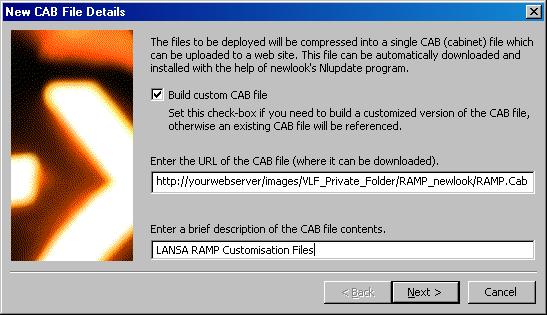
Specify cab file details |
In the New CAB File Details dialog ensure that the Build custom CAB file box is checked Specify any URL for the CAB file and give it the name RAMP.cab. Specify a meaningful description of the contents, such as LANSA RAMP-NL Customization Files. The user will see this description during the install. Click Next. |
The URL could be for example: http://wsrv/images/Private/RAMP_newlook/RAMP.Cab
Note: the path you specify here is not critical as it is used to build the nlupdate.nlu file created by this nldeploy.exe application. You have already created your own nlupdate.nlu (with the suffix changed to .txt), so you will not be using the one created by this application. However, it is critical that the file name (as placed at the end of the URL) is specific as being RAMP.cab as the application will use this value to name the file.
|
|
|
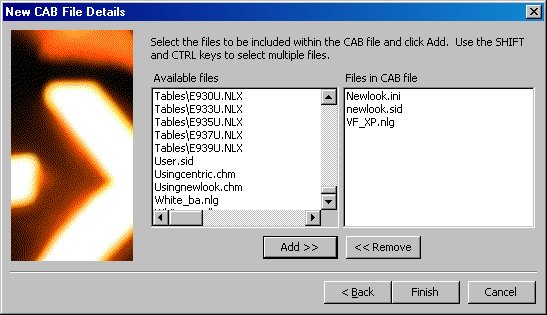
Select customization files |
Select the customization files to be included in the RAMP.cab file. If you are using newlook default values, you need: · newlook.ini · newlook.sid · VF_XP*.nlg file(s) Usually you only need these files. If you have added any images to your newlook screens, you will need to add them as well. Click Finish. |
Select the files and click on the Add>> button.
|
|
|
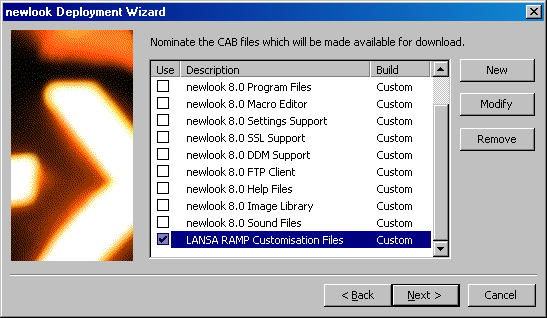
Select the newly created cab file |
The subsequent screen displays the list of cab files available. Select the cab file that you have just created (LANSA RAMP-NL Customization Files). |
|
|
|
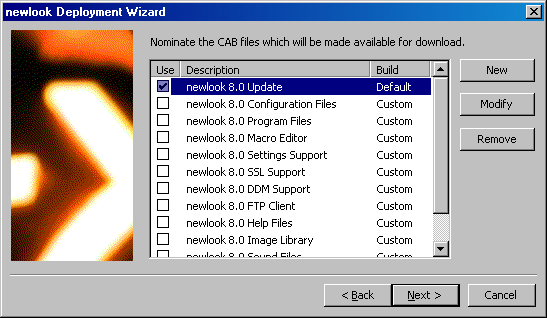
Select the newlook Update file |
We recommend you also select newlook 8.0 Update cab file. You do not require this file, but if you check this box you will avoid a warning message about nlocx.dll file not having been included when building the cab files. Click Next. |
|
|
|
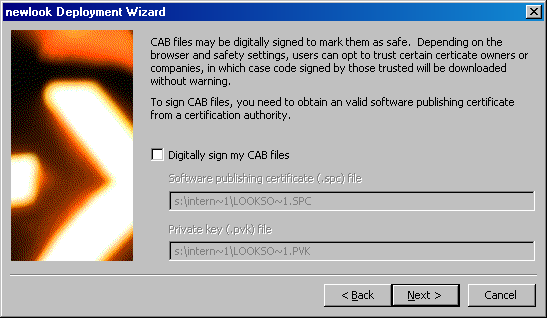
Do not digitally sign the cab file |
The next screen allows you to digitally sign your cab file. You do not need to sign this RAMP.cab file. The CAB files that we downloaded from the Look Software web site in section WEB-RAMP: Step 2b are already signed. Click Next.
|
|
|
|
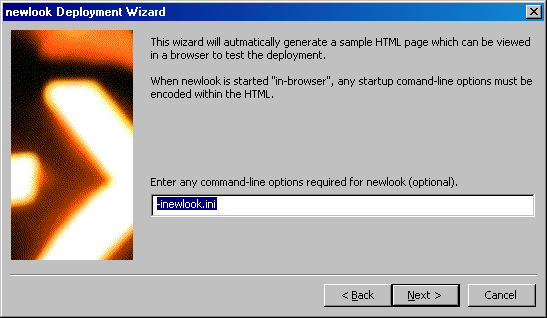
Click Next |
Ignore the command-line options and click Next.
|
|
|
|
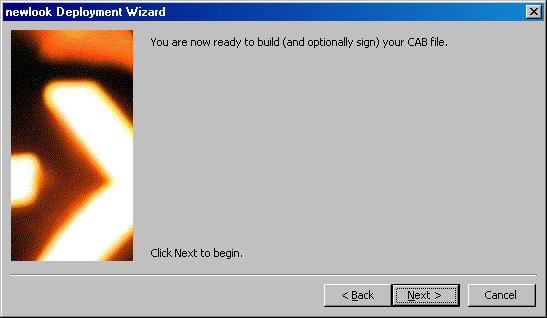
Start building the cab files |
You are now ready to build the RAMP.cab file. Click Next. |
|
|
|
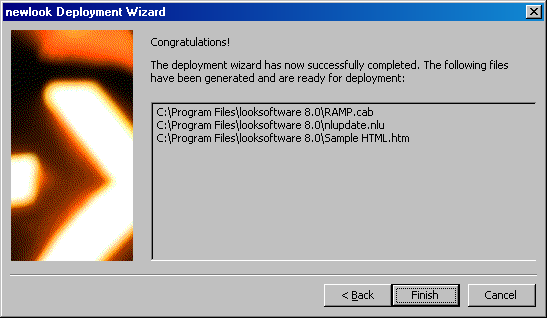
Cab file generation completion screen is displayed |
The Congratulations screen should appear next. Click Finish. |
|
|
|
Move the RAMP.cab file to the web server |
You can now move your configuration file (RAMP.cab) from the looksoftware 8.0 directory to the RAMP_NewLook folder on you web server. You will notice that some other files have been created, including an nlupdate.nlu file. The information in this nlupdate.nlu file does not contain all the information that we need for our download so it is important that you DO NOT copy them across to your web server. |
|