How to: Create Web Client UI Test using Coded UI Test
From Project Silk
| Silk 1.0 - June 2011 |
| How to: Create Web Client UI Test using Coded UI Test |
|
|
Overview
The following How-to topic will walk you through the creation of an automated test for your web application by creating a coded UI test using Visual Studio Premium or Visual Studio Ultimate. The coded UI test performs actions on the user interface (UI) controls and verifies that the correct controls are displayed with the correct values. For this topic, a default ASP.NET MVC 3 web application will be the targeted application used for testing.
Prerequisites
This topic requires you to have the following prerequisites:
- Microsoft Visual Studio 2010 Premium or Ultimate edition
- Microsoft Visual Studio 2010 SP1
- Internet Explorer 9
- ASP.NET MVC 3
Steps
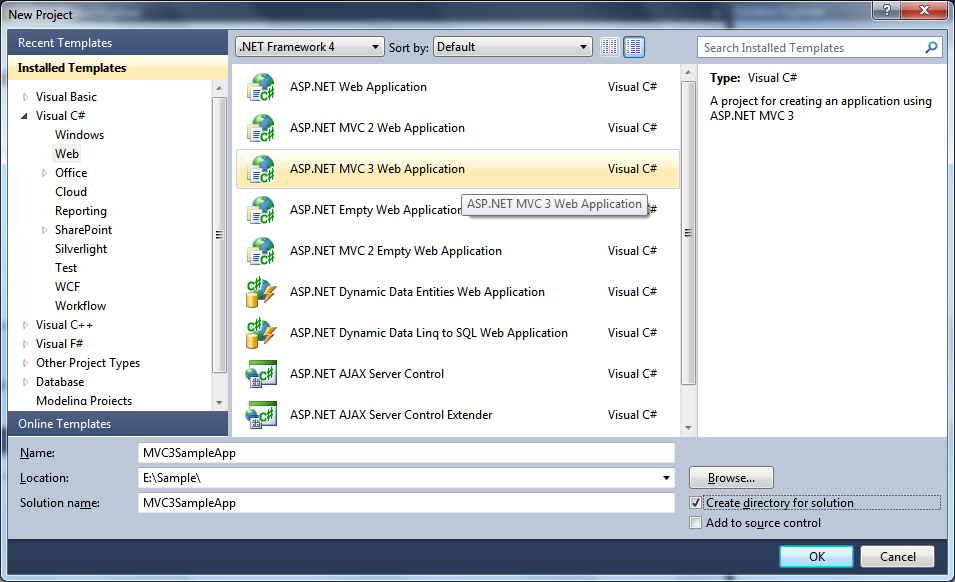
- In Visual Studio, create a new project. To do this, point to New on the File menu, and then click Project. In the New Project dialog, select Visual C# under Installed Templates, and then select ASP.NET MVC 3 Web Application. You can create applications using either Visual Basic or Visual C#. Name your project MVC3SampleApp, then click OK.
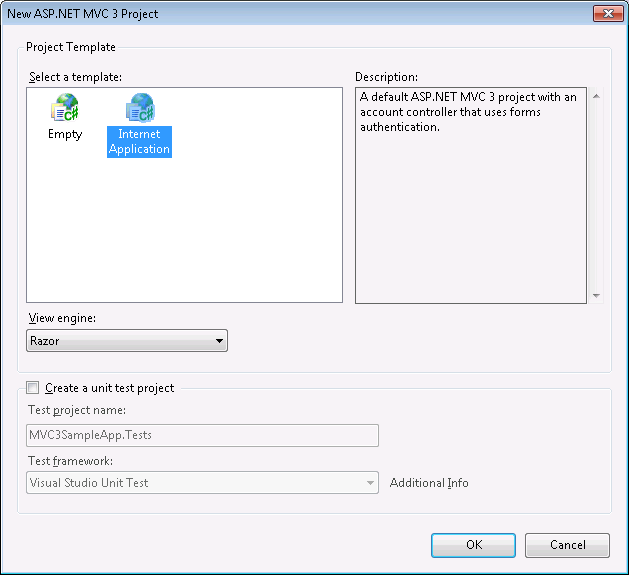
- In the New ASP.NET MVC 3 Project dialog box, select Internet Application. Select Razor as the view engine. Click OK.
- Select Start Debugging from the Debug menu. Visual Studio will launch a browser and open the application's home page. Notice that the address bar of the browser says localhost. That's because localhost points to your own local computer, which is running the application you just built. When Visual Studio runs a web project, a random port is used for the web server. In the image below, the random port number is 25857. When you run the application, you'll probably see a different port number.
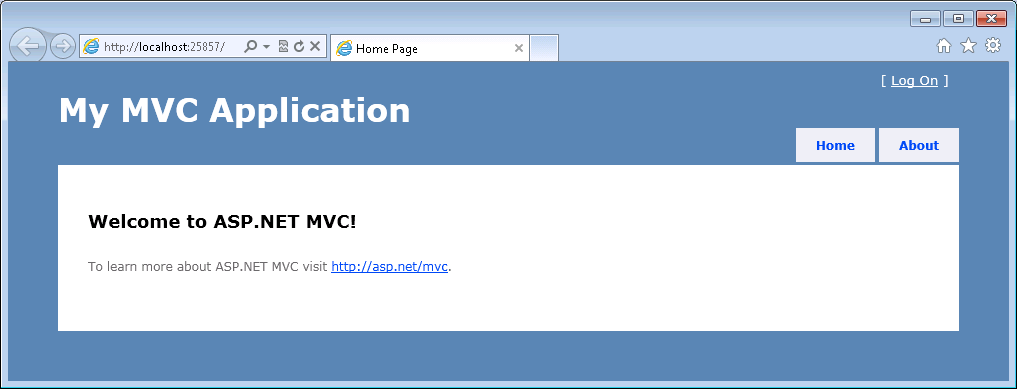
- Click the Log On link on the Home page.
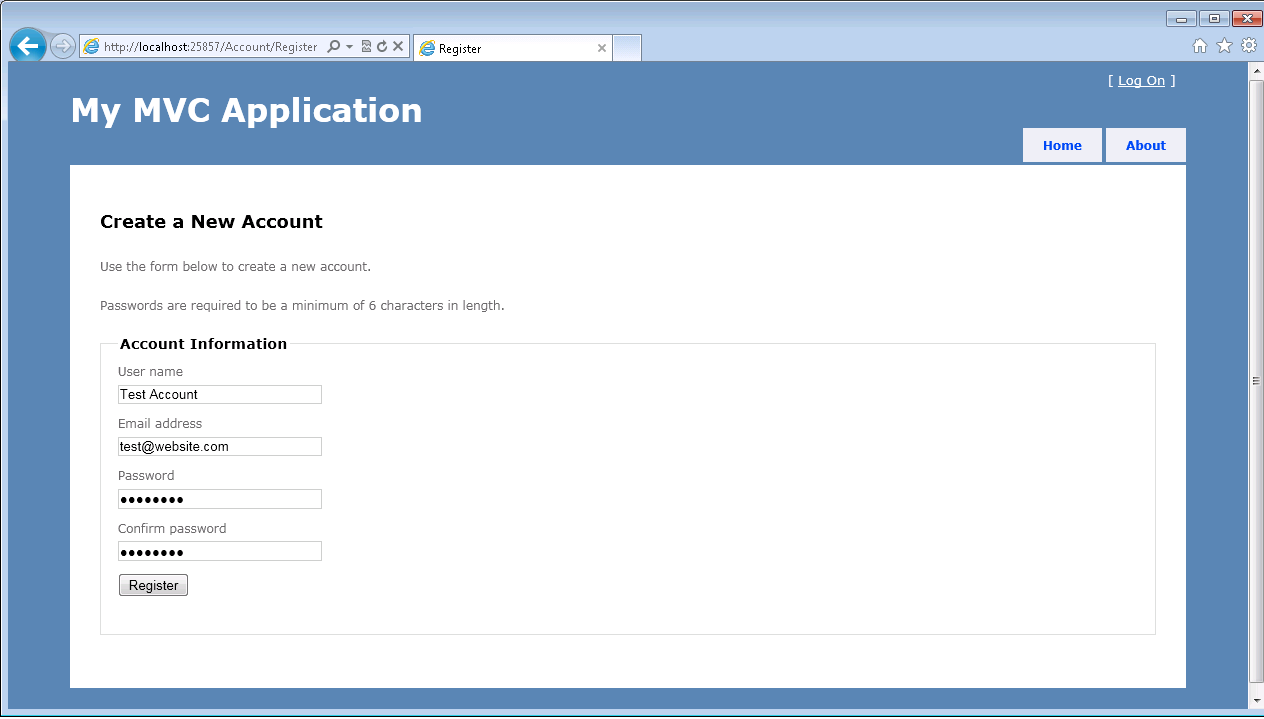
- Click the Register link and register an account by entering a User name and Password. Click the Register button.
- Add a test project to the solution using the Test Project template. Right-click the MVC3SampleApp solution in Solution Explorer, point to Add, and select New Project. In the New Project dialog, select Test Documents under Test Projects. Set the project's name to TestProject, specify a valid location, and then click OK.
- Add a coded UI test. To do this, in Solution Explorer, right-click the TestProject project, point to Add, and select New Test. In the Add New Test dialog, select the Coded UI Test. Name the coded UI test MyCodedUITest and click OK.
- In the Generate Code for Coded UI Test dialog, select Record actions, edit UI map or add assertions, and click OK.

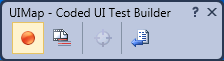
The Coded UI Test Builder dialog box appears. You can use the Coded UI Test Builder to add a UI control to the UIMap for your test, or to generate code for a validation method that uses an assertion for a UI control. Click the red button to start recording steps.
- Record the UI Test as follows:
- Navigate to the home page
- Click the Log on link on the top-right corner.
- Enter the user name and password.
- Click the Log on button.
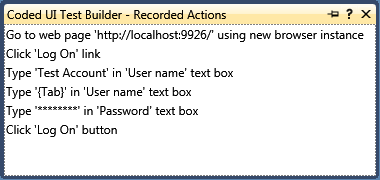
- Click the record button to stop recording. Click the Show Recorded Steps button to check if the steps are recorded correctly. The result should look like the screenshot below:
- Click the Generate Code button in UIMap - Coded UI Test Builder. In the Coded UI Test Builder-Generate Code dialog box, change the method name to LogOn and click the Add and Generate button.
- The code, which will be generated to the UIMap.Designer.cs file, is shown in the following code snippet.
 Note:
Note:If you record a new method, the generated code will override the code in UIMap.Designer.cs. C#  Copy Code
[GeneratedCode("Coded UITest Builder", "10.0.40219.1")] public partial class UIMap { /// <summary> /// LogOn - Use 'LogOnParams' to pass parameters into this method. /// </summary> public void LogOn() { #region Variable Declarations HtmlHyperlink uILogOnHyperlink = this.UIBingWindowsInternetEWindow.UIHomePageDocument.UILogOnPane.UILogOnHyperlink; HtmlEdit uIUsernameEdit = this.UIBingWindowsInternetEWindow.UILogOnDocument.UIUsernameEdit; HtmlEdit uIPasswordEdit = this.UIBingWindowsInternetEWindow.UILogOnDocument.UIPasswordEdit; HtmlInputButton uILogOnButton = this.UIBingWindowsInternetEWindow.UILogOnDocument.UIMainPane.UILogOnButton; #endregion // Go to web page 'http://localhost:9926/' using new browser instance this.UIBingWindowsInternetEWindow.LaunchUrl(new System.Uri(this.LogOnParams.UIBingWindowsInternetEWindowUrl)); // Click 'Log On' link Mouse.Click(uILogOnHyperlink, new Point(8, 11)); // Type 'Test Account' in 'User name' text box uIUsernameEdit.Text = this.LogOnParams.UIUsernameEditText; // Type '{Tab}' in 'User name' text box Keyboard.SendKeys(uIUsernameEdit, this.LogOnParams.UIUsernameEditSendKeys, ModifierKeys.None); // Type '********' in 'Password' text box uIPasswordEdit.Password = this.LogOnParams.UIPasswordEditPassword; // Click 'Log On' button Mouse.Click(uILogOnButton, new Point(17, 16)); } ... ... } - Use the UIMap -Coded UI Test Builder to create an assert method to validate properties of the UI control. In this case, you will verify if logging on to the default site was successful by following these steps:
- Add an assertion to the UI control. To do this, drag the crosshairs onto the UI control in your application that you want to test. When the box outlines your control, release the mouse. In this case, draw a box around the Logon portion of the home page.
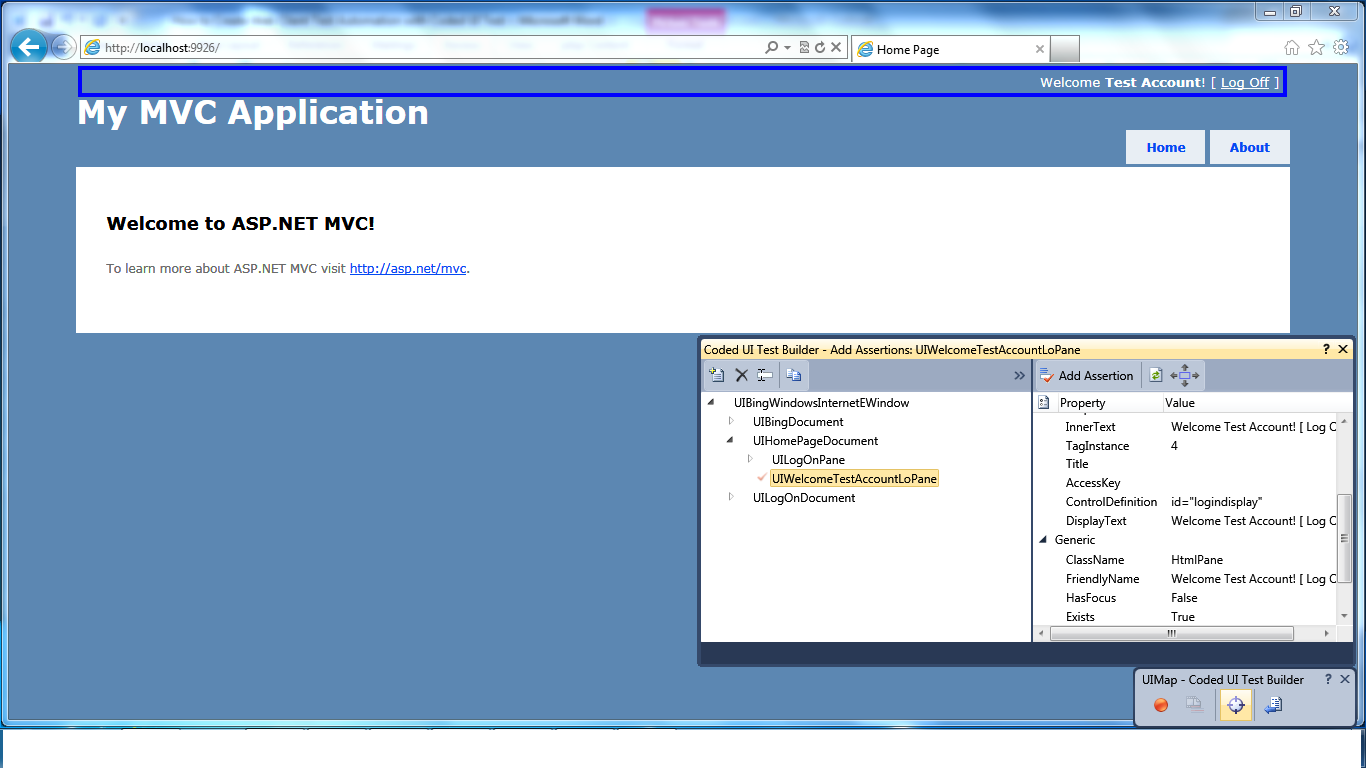
The properties for this control are now listed in the Coded UI Test Builder - Add Assertions dialog box.
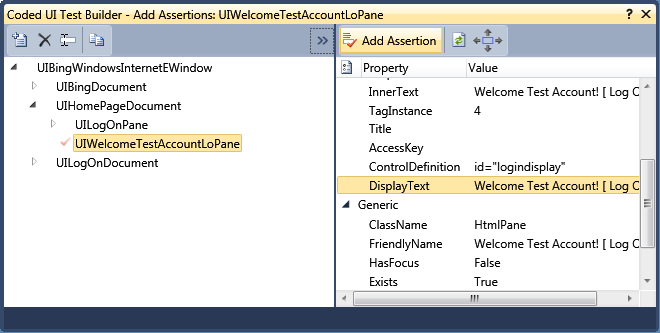
- Right-click the Display Text property and select Add Assertion. Keep all values as default and click OK.
- Click the Generate Code button in the Coded UI Test Builder. Name the assertion method VerifyLogOn. This method will be auto generated and added to the CodedUITestMethod1 in the MyCodedUITest.cs file, as shown below:
C# Copy Code
[TestMethod] public void CodedUITestMethod1() { // To generate code for this test, select "Generate Code for Coded UI // Test" from the shortcut menu and select one of the menu items. // For more information on generated code, see // http://go.microsoft.com/fwlink/?LinkId=179463 this.UIMap.LogOn(); this.UIMap.VerifyLogOn(); } - Add an assertion to the UI control. To do this, drag the crosshairs onto the UI control in your application that you want to test. When the box outlines your control, release the mouse. In this case, draw a box around the Logon portion of the home page.
- Modify the generated code as follows:
- Copy the code in UIMap.Designer.cs and paste it into UIMap.cs.
- In UIMap.cs, if it is not already present, add the following using statement:
C# Copy Code
using Microsoft.VisualStudio.TestTools.UITesting.HtmlControls;
- If you want to close the browser window automatically after each test case runs, add a CloseBrowserWindow function in the UIMap.cs partial class, as follows:
C# Copy Code
public partial class UIMap { ... ... public void CloseBrowserWindow() { #region Variable Declarations BrowserWindow currentBrowserWindow = this.mUIBlankPageWindowsInteWindow; #endregion currentBrowserWindow.Close(); } ... } - Add the following code snippet to the MyCodedUITest Class in MyCodedUITest.cs file. The TestCleanup attribute in this method marks this method to be executed every time a test method completes its run.
C# Copy Code
//Use TestCleanup to run code after each test has run
 [TestCleanup()]
  public void MyTestCleanup()
  {
  // To generate code for this test, select "Generate Code for Coded UI Test" from the shortcut menu and select one of the menu items.
  // For more information on generated code, see http://go.microsoft.com/fwlink/?LinkId=179463
     this.UIMap.CloseBrowserWindow();
  }
- To run the test, close all browser windows. Right-click inside the MyCodedUITest.cs file and click Run Tests. The coded UI test will begin to execute; this will open a browser, will run the application programmatically based on the recorded steps, and will assert if the conditions are met. Once the test completes, the results will be shown in the Test Results window.
Outcome
The Automation test project is created and can be used to automate UI testing of your web application.
Further Reading
To report documentation errors or provide feedback on this documentation, please send email to pagdoc@microsoft.com
Copyright © 2011 by Microsoft Corporation. All rights reserved.