


| Amicus | |
| Customer Loyalty Points Manager | |
| See Also Submit feedback on this topic | |
| Key Areas > Customers > Customer Loyalty > Customer Loyalty Points Manager |
Glossary Item Box
The Customer Loyalty Points Manager allows you to set and control how your customers gain loyalty points. Customer Loyalty Points can then be used to generate vouchers for your customers based on the points they have accumulated. Before setting up loyalty rules you must first ensure that the tills are setup to accrue loyalty points from the point of sale. Refer to the loyalty settings tab in order to configure loyalty points accrual
To access the Customer Loyalty Points Manager click on Customers from the Amicus Toolbar, click on Customer Loyalty and then Customer Loyalty Points Manager. Doing this will bring up the following screen.
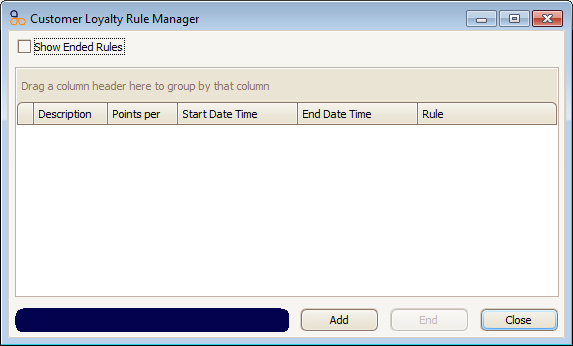
The Show Ended Rules checkbox allows you to control whether you want to display rules that have reached their end date time. To add a new rule click on the Add button and this will bring up the New Rule screen.
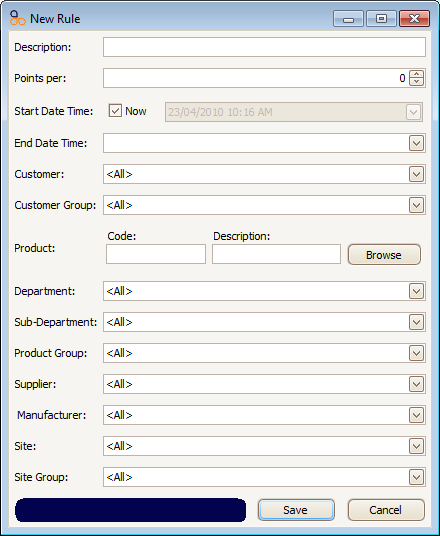
There are various options on this screen that allow you to create rules that suit your preferences.
The first step is to give the new rule a Name that is relevant and then use the up and down arrows on the Points Per field to assign how many points will be accumulated for each sale that uses the loyalty rule.
Start Date Time refers to the time that you would like to rule to be applied from. By default the start date time field checkbox is ticked so that the start date time is applied once the rule is saved. If you want to change the start date time then uncheck the Start Date Time checkbox and the date and time field will no longer be grayed out. Once you do this select from the dropdown list the date and time you would like the rule to start from and then press Ok.
The End Date Time field refers to the time you would like the rule to stop being applied. Click on the dropdown list to bring up a calender and clock where you can set the date and time you would like the new rule to end. Once you have set your date and time parameters click on the Ok button to apply your settings.
Once you have set the above settings you can then start selecting which customer(s) the rule will be applied to and what product needs to be purchased for loyalty points to be accumulated.
Click on the Customer field to apply the loyalty rule to a single customer. However, if you want to make a loyalty rule that applies to multiple customers then select from the Customer Group dropdown box. Note that customer groups must be setup. A guide on how to do this can be found on the Add/Edit Customer Groups page.
Click in the Browse button next to the Product field to add a specific product that, when purchased by the customer(s) in the rule, will accumulate points for that customer.
Loyalty rules can also be applied to products based on the following options: Department, Sub-Department, Product Group, Supplier, Manufacturer, Site, and Site Group.
Once you have completed your rule click on the Save button to save the rule. To exit the screen click on the Close button.
See Also
Amicus Administration User GuideCustomer Loyalty Vouchers Wizard
Add and Edit Voucher Types
Amicus System Administration Manual
Loyalty Settings