Create a Visual Studio Project based on the Wizard
You will need to use an empty solution to contain the user defined BIF that the Wizard creates.
1. Open Visual Studio, click and then navigate to the as shown below:
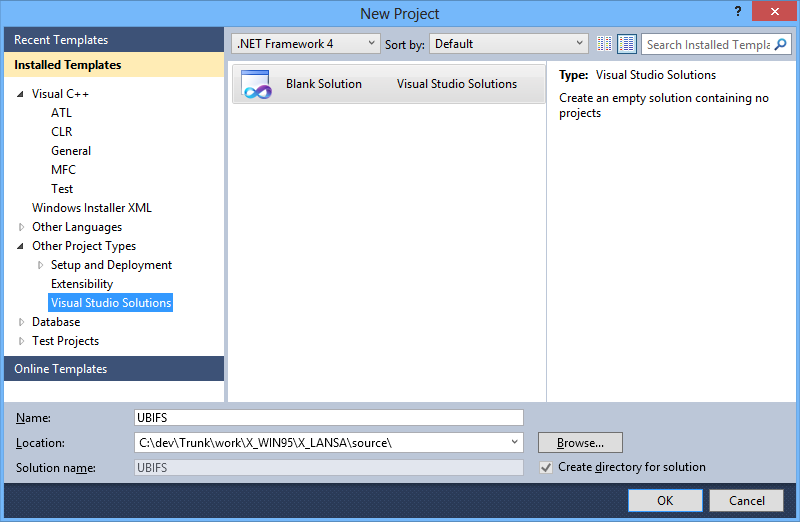
You must specify the location of the Solution as x_win95\x_lansa\source as shown above.
2. Click . The solution will be created.
3. Right click the solution entry and select
4. Copy all the files from {Visual LANSA Installation Folder}\Tools\LANSAUBIFSharedFiles into this folder.
5. Now create the UBIF project using the :
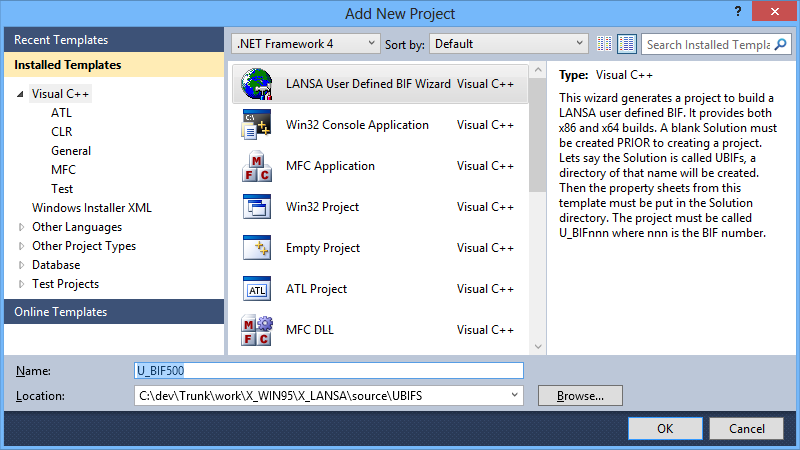
Ensure that the project name is U_BIFnnn where nnn is the BIF number. This name must be entered in table LX_F47 column X47PGM. For details, refer to 19.2.4 Steps to Create 3GL Built-In Functions on Windows/Linux/IBM i.
By following these instructions and placing the solution in the correct directory, header files and libraries will be located correctly and the resulting DLL will be in either the x_win95\x_lansa\execute directory or in the x_win64\x_lansa\execute directory, ready to be debugged and executed with LANSA.
The template that creates the core C program logic contains an example from the documentation with some message boxes added so that it is easier to see it working - see Example - A Simple Averaging Function. To run it from RDML also requires data to be added to tables LX_F47 and LX_F48. Refer to Steps to Create 3GL Built-In Functions on Windows/Linux/IBM i for details on how to do this. Obviously the C code would need to be modified to achieve your desired result.
If you build the 64-bit version and it fails, probably with the following message:
Link : fatal error LNK1104: cannot open file 'x_funms.lib'
then you do not have 64 bit support installed. This is available in Visual LANSA 13.2 and later and is an installation option.