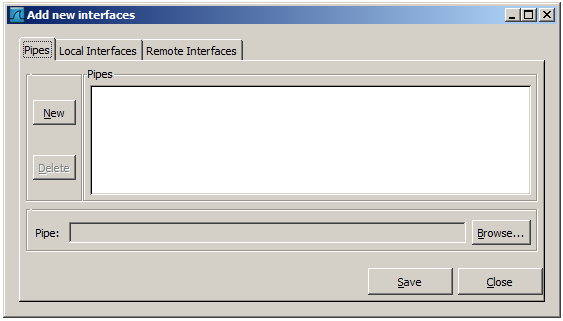
As a central point to manage interfaces this dialog box consists of three tabs to add or remove interfaces.
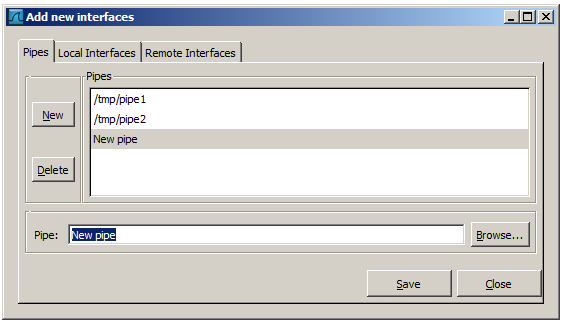
To successfully add a pipe, this pipe must have already been created. Click the "New" button and type the name of the pipe including its path. Alternatively, the "Browse" button can be used to locate the pipe. With the "Save" button the pipe is added to the list of available interfaces. Afterwards, other pipes can be added.
To remove a pipe from the list of interfaces it first has to be selected. Then click the "Delete" button.
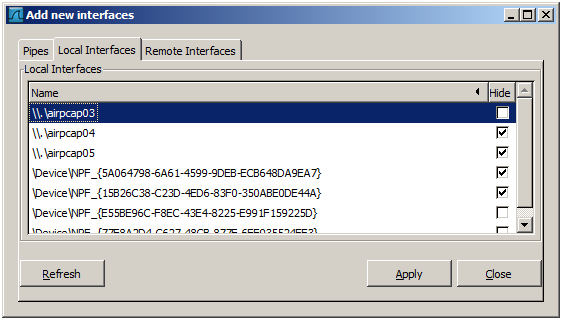
The tab "Local Interfaces" contains a list of available local interfaces, including the hidden ones, which are not shown in the other lists.
If a new local interface is added, for example, a wireless interface has been activated, it is not automatically added to the list to prevent the constant scanning for a change in the list of available interfaces. To renew the list a rescan can be done.
One way to hide an interface is to change the preferences. If the "Hide" checkbox is activated and the "Apply" button clicked, the interface will not be seen in the lists of the "Capture Options" or "Capture Interfaces" dialog box any more. The changes are also saved in the "Preferences" file.
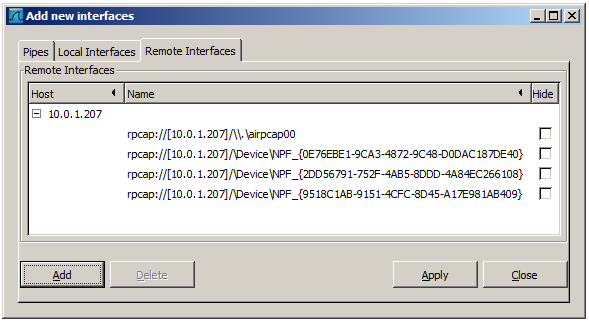
In this tab interfaces on remote hosts can be added. One or more of these interfaces can be hidden. In contrast to the local interfaces they are not saved in the "Preferences" file.
To remove a host including all its interfaces from the list, it has to be selected. Then click the "Delete" button.
For a detailed description, see Section 4.9, “The "Remote Capture Interfaces" dialog box”


