Step 8. Sending an Excel spreadsheet. Optional
INT004 - Using the LANSA User Agent
Microsoft Excel must be installed on your PC in order to complete this step.
In this step, you will create an Excel spreadsheet and modify the host configuration file SendCVSFile.lih to allow the User Agent to use an .xls file as source, instead of a .csv file. The User Agent will read the spreadsheet and display the contents. It will then send the data to the Server in CSV format for processing by function iiiFN05. Function iiiFN05 will return a response to the LANSA User Agent. Function iiiFN05 must have a SVMODE(*IGNORE) keyword on the RECEIVE command, since the Excel spreadsheet will be defined with column headings which are not field names. If necessary you should change function iiiFN05.
First, you must create the file containing the data to be sent using the User Agent. The file contains a list of employee numbers and the new salaries for those employees.
1. Start Excel in Windows.
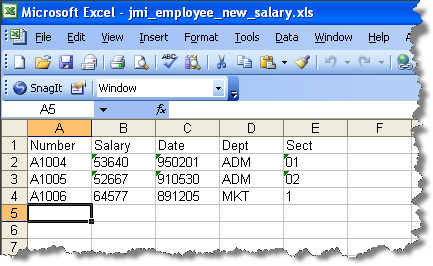
2. Enter the following data in the top left 15 cells of sheet 1, as shown:
Important Notes:
- Format cells E1 to E3 as text prior to entering the values, otherwise Excel will treat the entered values as numbers.
- Columns headings should be included in the Excel spreadsheet. Your function assumes headings exist and ignores them. Note: this also means that without a column headings row, your function would ignore the first row of data.
Ensure that the employee identifiers in the EMPNO column (A1004, A1005 and A1006) exist in file PSLMST in the partition where the server side RDML function will execute. (If the data does not exist in PSLMST file, substitute employee identifiers that do exist.) Enter the remaining data as shown.
3. In the File menu, select the Save As option using these options:
|
Save in |
locate the project directory where you defined the send CSV file solution. For example: c:\program files\lansa\integrator\Studio\workspace\iii Training\solutions\SendCSVFile\ |
|
File Name |
iii_employee_new_salary.xls |
|
Save as Type |
Microsoft Excel workbook (*.xls) |
4. Close Excel.
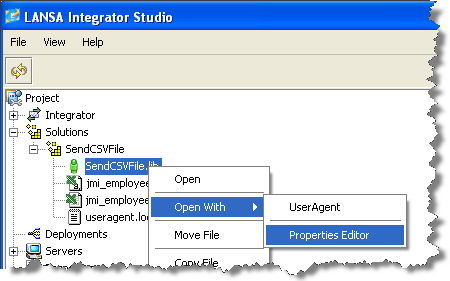
5. With your iii Training project open in Integrator Studio, open the SendCSVFile.lih with the .
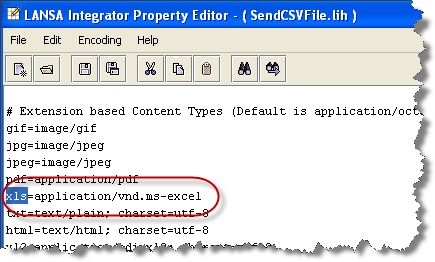
6. Use to locate xls entries. You should find the highlighted entry already exists. This line defines the Windows application which the User Agent will use to display an .XLS file.
7. Locate entries for uri and modify the entry for xls.uri=/cgi-bin . . . as shown in the screen shot. This defines the service which the JSM will look up in DC@W29 to find the program or function to call when handling an xls file.
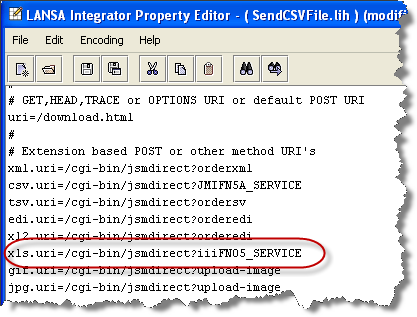
If you are using the JSM server on Windows the entry would change to:
xls.uri=/cgi-bin/jsmdirect.exe?iiiFN05_SERVICE
8. Add a new section to the end of the configuration file, to tell the LANSA User Agent which of the sheets in the Excel spreadsheet to read and what to convert the spreadsheet to, prior to display.
#
# Excel processing
#
excel.convert=text/comma-separated-values;charset=utf-8
excel.sheet=Sheet1
9. Save your changes and close the
10. As before, open the User Agent for your SendCSVFile solution, open the Excel file iii_employee_salary_amendments.xls and send it to the JSM server. The response should be the same as before.