Backing up the IPFX Server
Note: Whenever possible, stop the IPFX Server before performing backups.
To perform a backup:
- Log into the IPFX Server and run the file \VMLOCAL\Utils\PSBackup.exe.
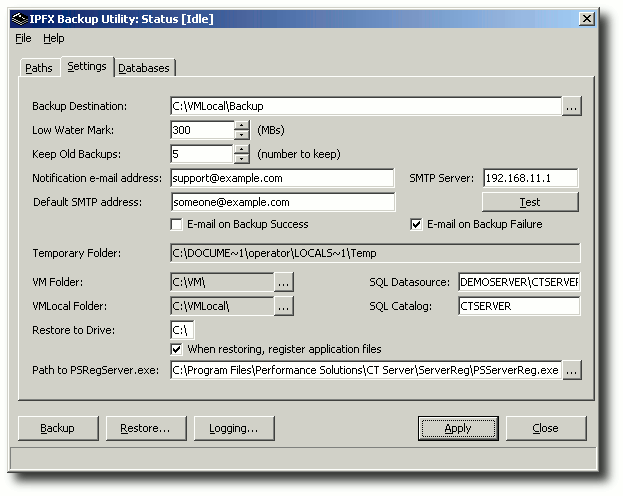
- The PSbackup utility window appears:

Enter the following settings as required:
- Backup Destination: The folder in which the backup file will be placed.
- Low Water Mark: The minimum amount of disk space required at the backup location before the a backup can be created. If the backup destination volume has less than this amount of free disk space, no backup will be performed.
- Keep Old Backups: The number of the concurrent backup zip files to be retained. As this number is exceeded the oldest backup file will be deleted.
- Notification E-mail Address: The e-mail address to where all notifications of success or failure are sent.
- Default SMTP Address: The e-mail address that will appear in the From header of the notification e-mail.
- SMTP Server: The IP address of the SMTP server used to the notification e-mail messages.
- E-mail on Success / Email on Failure: Selects whether e-mail is sent on the success and/or failure of the backup.
- Temporary Folder: The location of the folder used to hold temporary files created during the backup process.
- VM Folder: The location of the IPFX Server's VM folder (defaults to local installation location).
- VMLOCAL Folder: The location of the IPFX Server's VMLocal folder (defaults to local installation location).
- SQL Datasource: The SQL data source of your organisation's IPFX database, in the form IPFX Server name\Catalog.
- SQL Catalog: The Catalog name of your organisation's IPFX Server database.
- Restore to drive: The volumes on which the backup file is to be restored.
- When restoring register application files: Determines whether executable components are registered on restoration.
- Path to PSregserver.exe: The location where PSregserver resides.
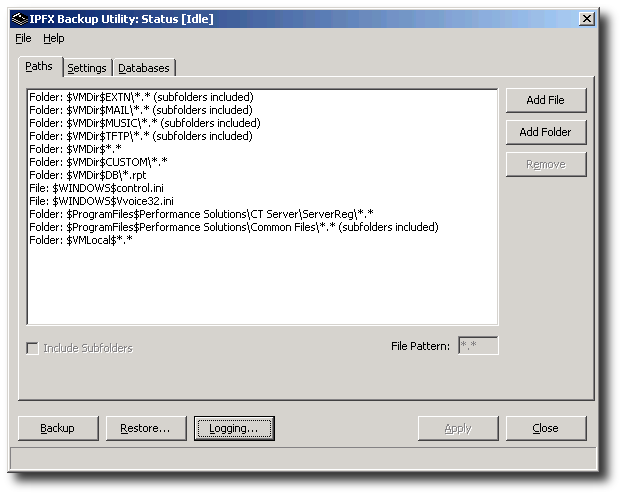
- Click the Paths tab to select the files and folders to be backed up:

Default locations are pre-configured. If you wish to add additional files or folders to the backup, select these using the Add File and Add Folder buttons respectively.
By default, a selected folder and all its files (but not subfolders) are backed up. To change this behaviour on a per-folder basis, click on the folder in the Paths list. Check the Include Subfolders option to back up all of a folder's subfolders, and enter a wildcard pattern in the File Pattern field to back up only filenames matching the specified pattern.
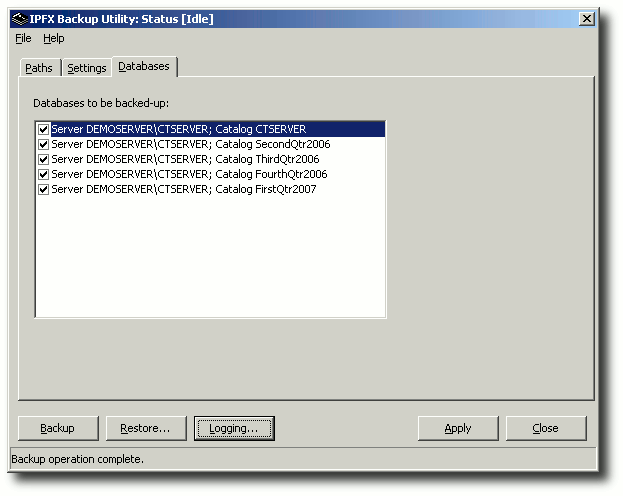
- Click the Databases tab to select the databases to back up:

The list of database catalogs displayed is determined by the SQL Datasource field on the Settings tab.
Check the catalogs that you wish to back up.
- Click Backup to begin the backup process. While the backup is being created, a progress bar appears:

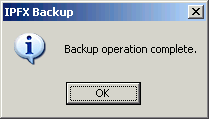
- The following dialog appears when the backup is complete:
