


To change the properties of a toolbar
- Click Tools
tab
 Customization
panel User
Interface.
Customization
panel User
Interface.  At the command prompt,
enter cui.
At the command prompt,
enter cui. - In
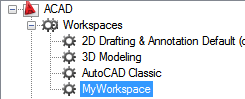
the Customize User Interface Editor, Customize tab, in the Customizations
In <file name> pane, click
the workspace that contains the toolbar you want to modify.
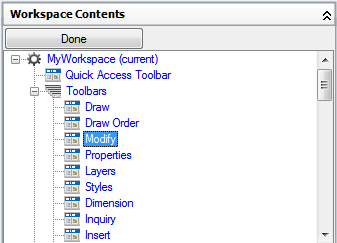
- In the Workspace Contents pane, click the plus sign (+) next to Toolbars to expand the list.
- Click
the toolbar that you want to modify.
- In
the Properties pane, do any of the following:
- In the Orientation box, select an option (Floating, Top, Bottom, Left, or Right).
- (Only if Orientation is set to Floating) In the Default X Location box, enter a number. A value of 0 starts the location of the toolbar at the left edge of the screen, as the number increases the further from the left the toolbar is placed.
- (Only if Orientation is set to Floating) In the Default Y Location box, enter a number. A value of 0 starts the location of the toolbar at the top edge of the screen, as the number increases the further from the top the toolbar is placed.
- (Only if Orientation is set to Floating) In the Rows box, enter a number. Enter a number to have the buttons on the toolbar wrap around to create the number of rows if possible. 0 is the default value.

- Click OK.