NetFinder Help
From NetFinder
1. Introduction
1.1 Main Function
It’s used to search network printer in LAN (Ethernet) and set the address.
1.2 Operating Environment
(1) Operating system is Windows 2000 or above.
(2) A PC with a network card (network adapter) is connected into Ethernet.
1.3. Main Interface
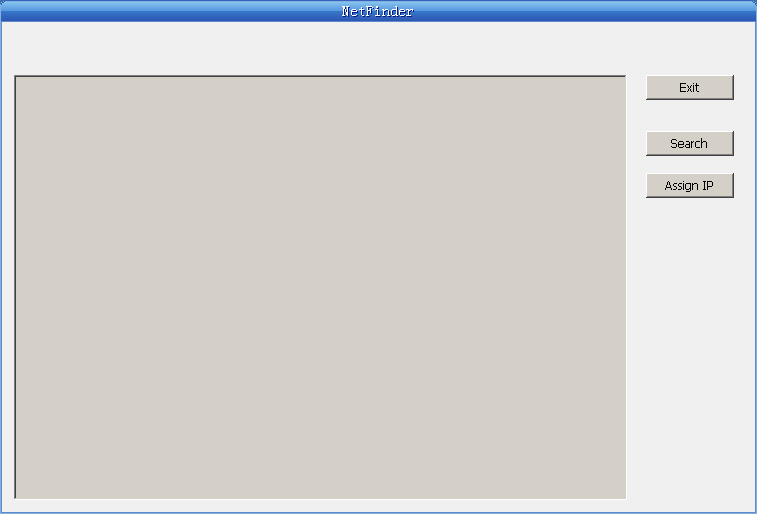
Button description:
Exit -- Exit from the software.
Search -- Search and list the printers in the LAN.
Assign IP -- Modify the IP address and other settings for the specified printer.
2. Using Detail
2.1 Searching Printer
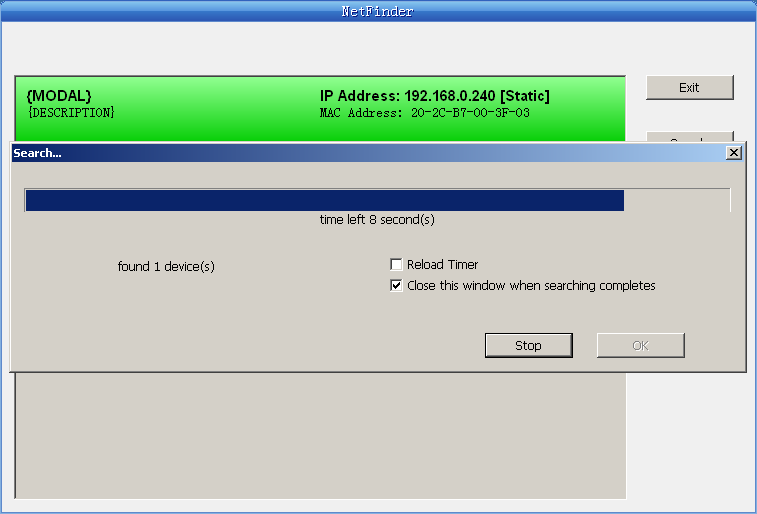
Click "Search" button in the main window, the dialog box appearing will begin searching automatically and show appearance, listing a printer in the main window if found. The time is counting down in the progress bar (10s in total) and the search will finish as soon as the time is over. When going on searching, press "search" button again.
If the printer is connected correctly, it usually can be found in a circle time.
If the printer can not be found out when the network connection is correct and in the same network, please check whether the firewall on the PC is working. If there is a firewall, please close it temporarily, open again after finishing searching and setting a printer.
2.2 Setting printer’s IP address
The printer’s information is listed in the main window, the left side of which is the model and description and the right is the IP and MAC address. What’s more, the assign mode (dynamic/static) is noted behind the IP address.
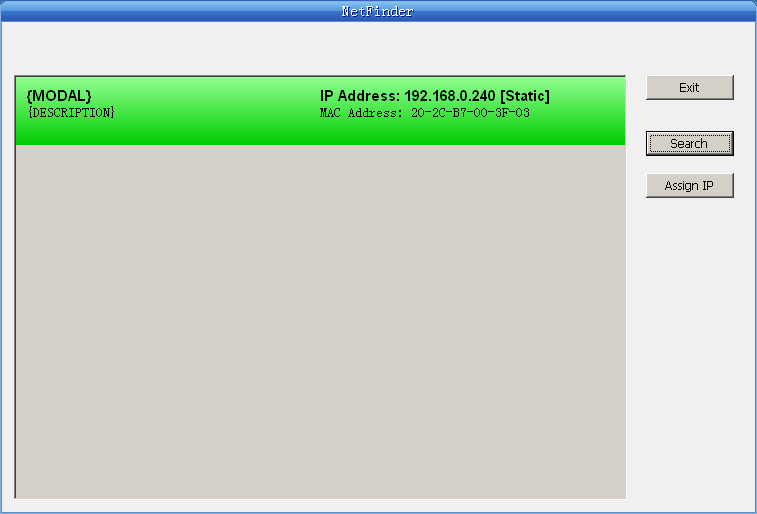
Select the printer information to be modified (black frame appears), click "Assign IP" button. Set the IP in the dialog box appearing.
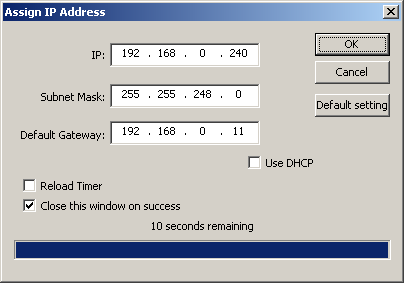
Check the "Use DHCP" if need to assign dynamic address, the settings above will be disabled automatically. Please make sure there is a DHCP server in the network, or the printer can not receive an effective IP address.
When to specify static address, uncheck "Use DHCP" and fill in "IP address", "Subnet Mask" and "Default Gateway". If there is no gateway in the network, fill 255.255.255.255 in it. "IP address" and "Subnet Mask" should obey the assigning rules of LAN (Ethernet).
Click "OK" to send address setting information to the specified printer. The printer takes response after "Close this window on success" is checked, and then this dialog is closed automatically. Select "Reload Timer" then the software will wait for the printer’s response. Generally, printer will take response in a short time if network connection is correct.
Click "Cancel" if you abandon the modification.
Click "Search" in the main interface again to update printer information after modifying the printer’s IP address.