Excel Ranges
From Alchemex
Home > Tutorials > Connector Tutorial > Connecting to a Data Source > Using an Excel Workbook as a Data Source
Using an Excel Workbook as a Data Source
In order to use an existing Excel Workbook as a data source for a report, the data needs to be organised into named ranges.
To do this, open the workbook in Excel. The data should be stored with accurate headings so that when expressions are added, the data remains meaningful. Select the data required for report writing purposes by highlighting.
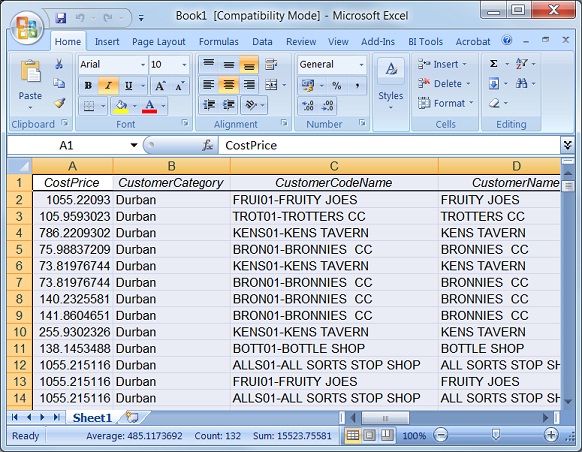
Go to Formulas Tab.
Click Define Name.
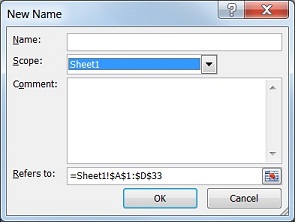
Add a suitable Name and click OK.
This range will now be available for selection when you add new data containers within the Connector module.
A new connection type has been added to the Connector for connecting to Excel workbooks as source data via an ODBC connection. To add a new data connection to an Excel workbook you will need to ensure that you have a selected the applicable data in Excel and have named the range prior to adding the connection within the Connector . Adding a named range to an Excel workbook.
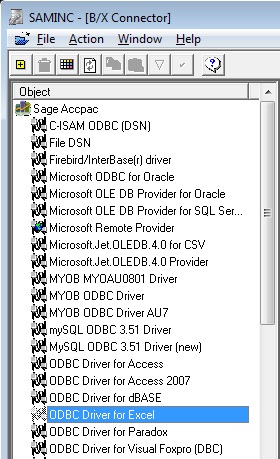
Click on the Add Icon
 which
will display the Connection Info window.
which
will display the Connection Info window.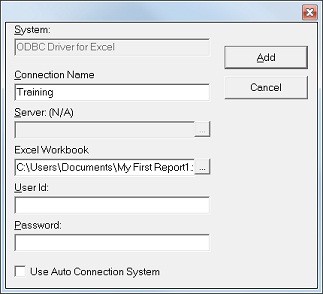
- Name the connection and specify the Excel workbook that you will be accessing.
- If the workbook has been protected you will need to add the relevant user id and correct password. Click Add.
- Test the connection by clicking the Check/Test
button,
 , or by right clicking the
mouse and selecting Check/Test.
, or by right clicking the
mouse and selecting Check/Test.
Next-->