Strip Printers
From Amicus


| Amicus | |
| Strip Printers | |
| See Also Submit feedback on this topic | |
| Preferences > Printer Settings > Strip Printers |
Glossary Item Box
The Strip Printer settings can be turned on by selecting the Strip radio button in the Printer Type area.
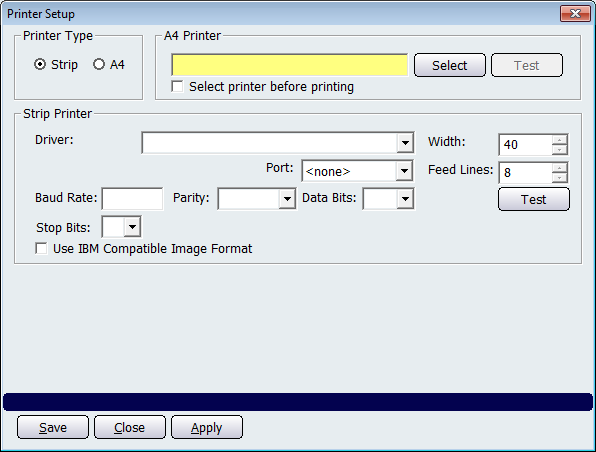
Figure : Settings for your Strip printer
You may select the appropriate Driver for your strip printer from the drop down box of all the installed Windows® printers on this register. This potentially may make the printer print in higher quality true type graphics, but be aware however that the choice of such graphics will usually make the printer print more slowly. Generally this option is selected when connecting the strip printer over a network connection.
Enter the Display width of the paper used by your strip printer. Generally this will be either 40 or 48 characters wide, with the default option being 40 characters. Check your printer manual if you are unsure.
If the strip printer is physically attached to this register, select which port the strip printer is attached to in the Attached to port field. By default this will be your parallel printer port, LPT1.
Enter the No. Feed Lines you wish the printer to advance after each sale. This ensures that the receipt will tear off in the correct place. This will vary from printer to printer and is subject to your own personal preference.
To ensure that the printer is working correctly, click the Test button.
Buttons that perform actions on the Printer Setup screen includes: Save, Close, and Apply.