To create a command shortcut menu
- Click Tools
tab
 Customization
panel User
Interface.
Customization
panel User
Interface.  At the command prompt,
enter cui.
At the command prompt,
enter cui. - In
the Customize User Interface Editor, Customize tab, in the Customizations
In <file name> pane, right-click
Shortcut Menus. Click New Shortcut Menu.
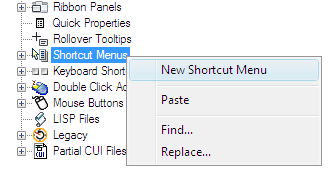
The new shortcut menu (named ShortcutMenu1) is placed at the bottom of the Menus tree.
- Do
one of the following:
- Enter a new name over the default name ShortcutMenu1.
- Right-click ShortcutMenu1. Click Rename. Enter a new shortcut menu name.
- Click ShortcutMenu1, wait, and click again over the shortcut menu’s name again to edit its name in-place.
- In
the Properties pane, do the following:
- In the Description box, optionally enter a description for the shortcut menu.
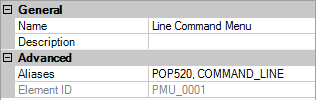
- In
the Aliases box, click the Ellipsis button. Press ENTER so you are
on a new line in the Aliases dialog box. Enter additional aliases
for the menu, and after each one entered press ENTER. An alias is
automatically assigned, and defaults to the next available POP number,
based on the number of shortcut menus already loaded in the program.
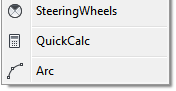
In order for the commands on the shortcut menu to appear when a command is active, make sure to use the alias COMMAND_commandname. For example, if you want the commands on the shortcut menu to appear when using the LINE command use the alias COMMAND_LINE. The commands from the shortcut menu will appear at the bottom of the shortcut menu with the alias CMCOMMAND when it is displayed.
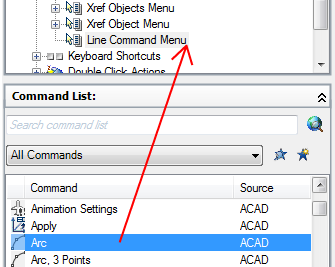
- In
the Command List pane, drag the command you want to add to the location
just below the shortcut menu in the Customizations In <file name> pane.
- Continue adding commands until the new shortcut menu is complete.
- Click
OK.